


Cleaning grout isn’t always a walk in the park, especially when it comes to the grout between floor tiles in the kitchen and bathroom. With kids and pets around, these areas see a lot of action and traffic, making it even harder to keep clean.
While there are plenty of store-bought options, you can actually create a natural and non-toxic grout cleaner at home. The best part? You probably have all the necessary ingredients in your kitchen or bathroom. This homemade grout cleaner is simple but effective and can brighten up your grout. Let me show you how to make this DIY solution using common household items.

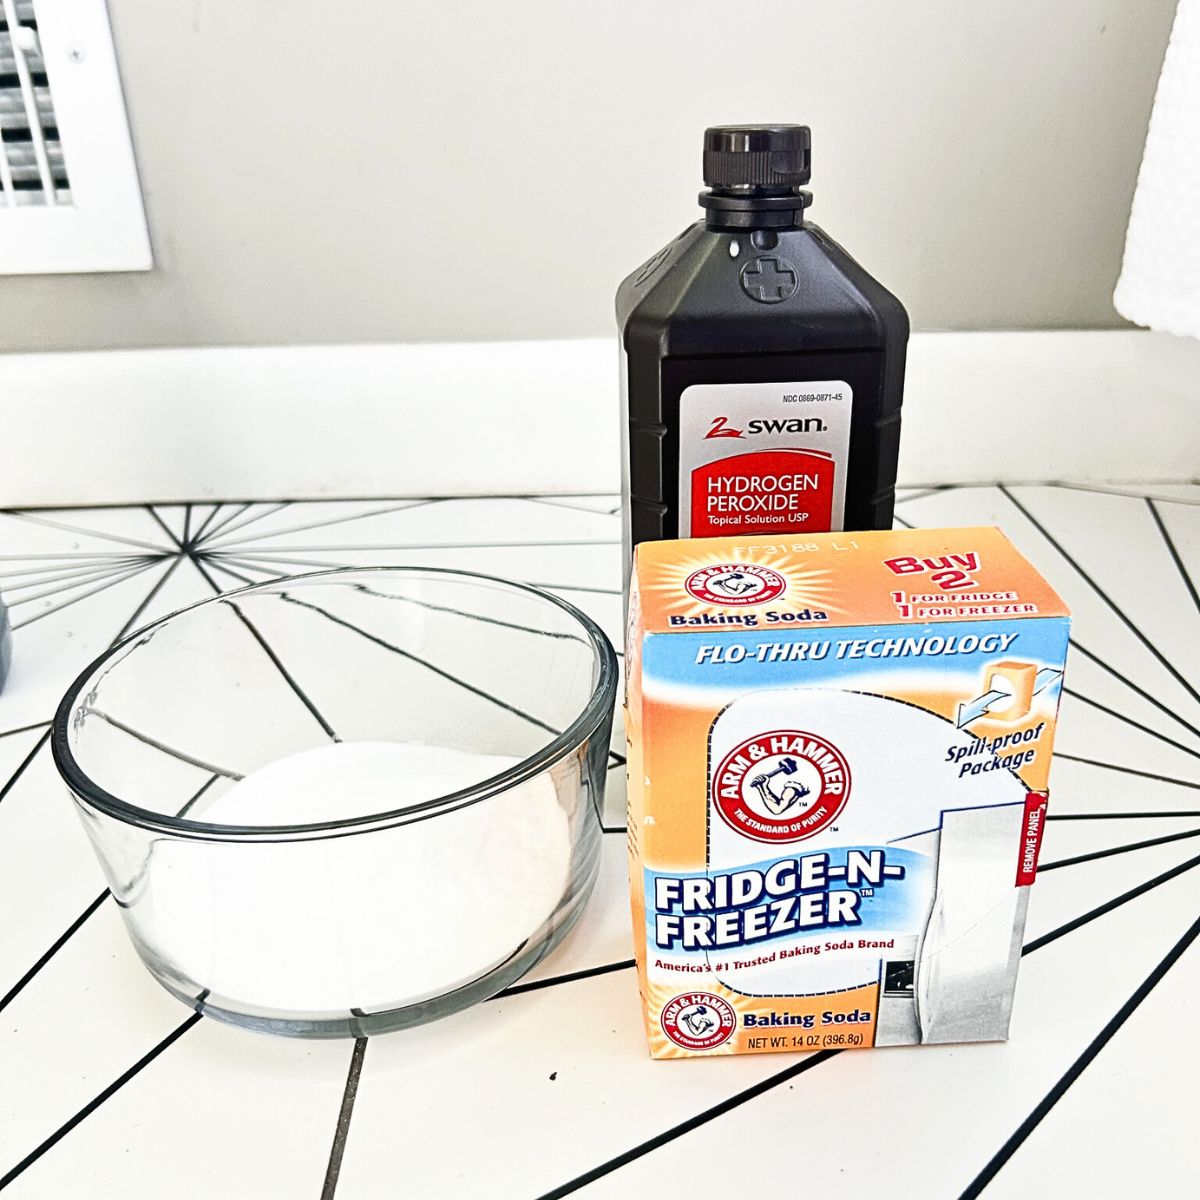
Here’s What You’ll Need
- Hydrogen Peroxide
- Baking Soda
- Dawn Dish Soap
- Toothbrush or Grout Brush
- Glass Bowl or Cup

How to Create a DIY Grout Cleaner
Baking soda and hydrogen peroxide are non-toxic products known for removing mold. Baking soda attacks mold by absorbing moisture and destroying it, while hydrogen peroxide has a mild bleaching ability that is naturally antifungal and antibacterial.
The combination of baking soda and peroxide creates a transformative paste, making it a reliable ally in the battle against dirt and stains that plague tiles and grout.
Step 1
Gather all your ingredients needed to make the homemade grout cleaner.
Step 2
Combine equal amounts of baking soda and hydrogen peroxide – 1/2 cup each and add three tablespoons of dish soap into a bowl. Stir the ingredients to make your homemade cleaning solution.
Step 3
Apply the homemade grout cleaner directly to the grout using a grout brush or toothbrush. In this step, you can also use your fingers (with gloves on) to apply it directly to the grout. Let it sit for about 10 minutes.
Step 4
Scrub the grout with the grout brush or toothbrush until it is clean. Try to work in smaller areas, and this will allow you to really focus on areas that need the most cleaning. You may need to use some elbow grease when scrubbing, but it will be worth it.
Step 5
Once finished scrubbing, wash the area with warm water to remove the grout cleaner residue. If you are cleaning the floors, then take a bucket of warm water and mop the area to remove the grout cleaner residue. You can also take a microfiber cloth and wipe up the area.
Thanks to baking soda and hydrogen peroxide, your grout should now be much whiter and brighter. The baking soda steps in to tackle those stubborn stains and the clingy, hard water buildup. Meanwhile, the hydrogen peroxide takes charge, cleaning and bringing out a bright shine. It’s the perfect duo to break down grime on the grout and bid farewell any unsightly discolorations.
This DIY grout cleaner can be applied to any colored grout, including gray or black grout. No matter the color of the grout, it should still give you the same results without damaging the grout.
How to Maintain Clean Grout
- Regular cleaning – To maintain clean grout, you must clean it regularly to prevent dirt, mold, or mildew buildup.
- Refrain from harsh cleaners and opt for gentle cleaning products with a neutral pH balance.
- Seal it – Since grout is porous, it needs to be sealed every so often. Grout tends to soak up dirt and moisture easily. Sealing the grout will not only prevent it from fading but also from growing mold. This will allow your grout to continue looking good year after year. Use a grout sealer like Aqua Mix Sealer’s Choice Gold or Black Diamond Stoneworks Grout Sealer for best results.
- Have a grout pen handy – If you have colored grout, having a grout pen handy is perfect for coloring over your existing grout. Grout pens are usually waterproof and don’t create any form of mess. You can easily grab and go with grout pens to quickly touch up the grout if you notice visible fading to bring it back to its original color. This is a great way to keep the colored grout looking its best.
DIY Grout Cleaner
Materials
- ½ cup Hydrogen Peroxide
- ½ cup Baking Soda
- 3 tbsp Dawn Dish Soap
- Toothbrush or Grout Brush
- Glass Bowl or Cup
Instructions
- Gather all your ingredients needed to make the homemade grout cleaner.
- Combine equal amounts of baking soda and hydrogen peroxide – 1/2 cup each and add three tablespoons of dish soap into a bowl. Stir the ingredients to make your homemade cleaning solution.
- Apply the homemade grout cleaner directly to the grout using a grout brush or toothbrush. In this step, you can also use your fingers (with gloves on) to apply it directly to the grout. Let it sit for about 10 minutes.
- Scrub the grout with the grout brush or toothbrush until it is clean. Try to work in smaller areas, and this will allow you to really focus on areas that need the most cleaning. You may need to use some elbow grease when scrubbing, but it will be worth it.
- Once finished scrubbing, wash the area with warm water to remove the grout cleaner residue. If you are cleaning the floors, then take a bucket of warm water and mop the area to remove the grout cleaner residue. You can also take a microfiber cloth and wipe up the area.
Other posts you might like:
- 6 Ways to Clean Your Tile Grout
- Pros and Cons of Gray Grout
- Pros and Cons of Using Black Grout on White Tiles
- How to Clean Mold in Shower and Safely Prevent It
- How to Clean a Glass Shower Door
Please comment below to let me know what you think of this article. Feel free to follow me on my social media pages – Pinterest and Instagram or subscribe to my mailing list for other design inspiration, DIY projects, and home decor ideas.