This post may contain affiliate links.
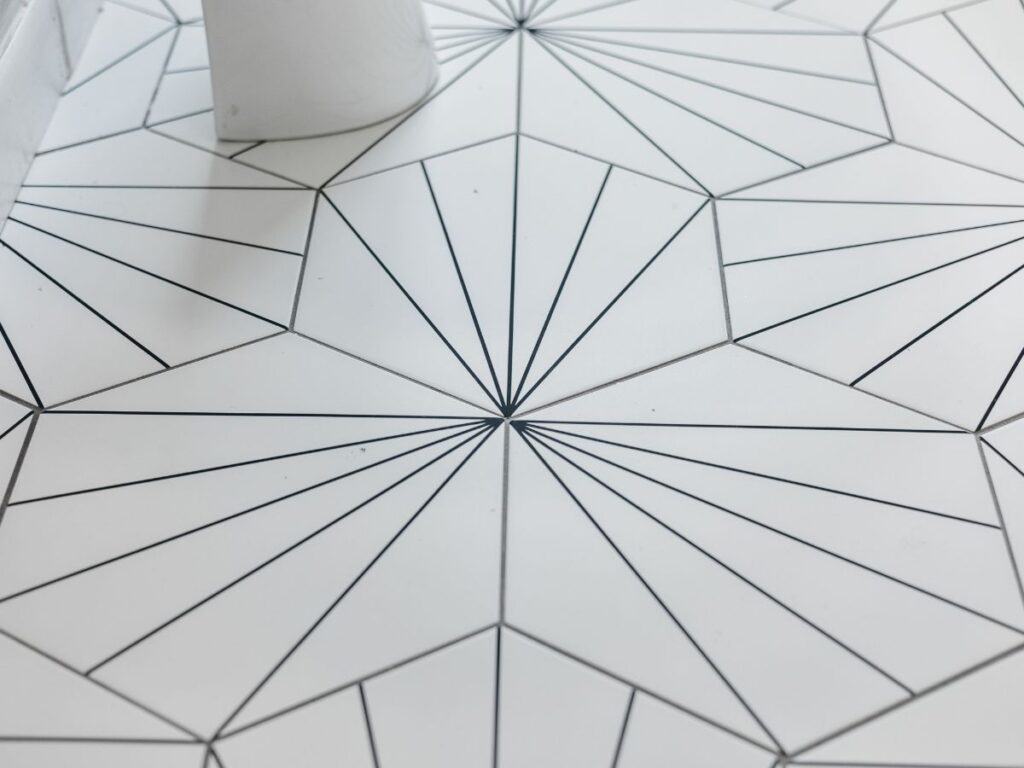
We recently upgraded our bathroom floor to a stylish combination of black and white tiles paired with black grout. However, upon completion of the project, the floor installer informed us that the grout had not been sealed and needed our attention.
Sealing new grout is often an overlooked step during new tile installations. Many assume that new tiles come pre-sealed, but that’s not the case. Even if you’ve had your tiles for years, it’s important to recognize the need for sealing. It’s recommended to refresh the sealer periodically – especially in moisture-prone areas like bathrooms.
The reason for sealing is because Grout’s porous nature makes it prone to absorbing dirt and moisture. Over time, this can lead to faded color, stains, and even cracks in the grout lines, taking away from the appearance of your tiles. Sealing the grout preserves its color and prevents mold and mildew growth. This ensures that your grout continues to look good year after year.
Sealing grout is a simple process that’s worth the time and effort. In this guide, I’ll take you through how to properly seal grout on tile floors.
This post may contain affiliate links, which means I will earn a small commission if you purchase through my link. Please see the full disclosure and privacy policy for more information.
What is grout?
Grout is a material used to fill the gaps and crevices between tiles or stones on a surface. It helps to hold the tiles or stones in place, preventing water from seeping through the surface.
Grout is a requirement when filling spaces between tiles. Grout creates a seamless tile appearance while helping to protect the tile from cracking and moisture from seeping through.
Why is it important to seal grout?
Grout is porous, and it can easily absorb any form of liquid, dirt, and other contaminants. This absorption can lead to deterioration, discoloration, and damage to the grout. By sealing grout, you create a protective layer and barrier that prevents these substances from seeping into the grout lines.
Sealed grout is also less likely to crack or break, as the sealant helps to reinforce its structural integrity. Additionally, sealing grout can enhance the overall appearance of your tile floors, making them look more polished and vibrant.
Step-by-Step Guide on How to Seal Tile Grout
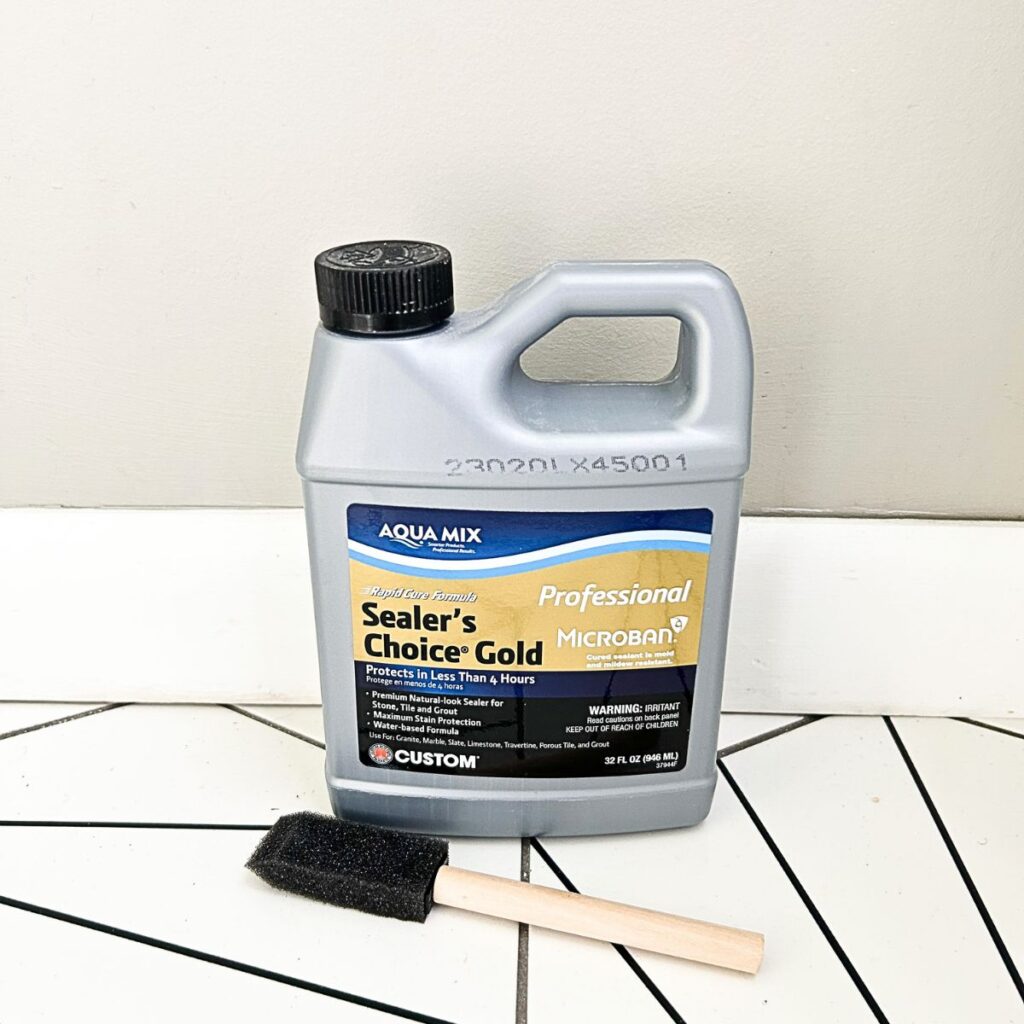
Supplies you’ll need
- Grout Sealer – I used the Aqua Mix Sealer’s Choice Gold
- Microfiber cloth or rag
- Small bowl
- Gloves
- Foam Paint Brush
- Dish Soap
Step 1 – Clean the Grout

Start by thoroughly cleaning the tile and grout lines. Remove any loose dirt, dust, or debris. You can use a mild detergent like Dawn dish soap and clean the grout lines with soapy water. If your tiles are deeply stained, you can try these alternative methods for cleaning grout. Once done cleaning, wipe the area with clean water and allow it to dry completely before proceeding.
Step 2 – Apply the sealer
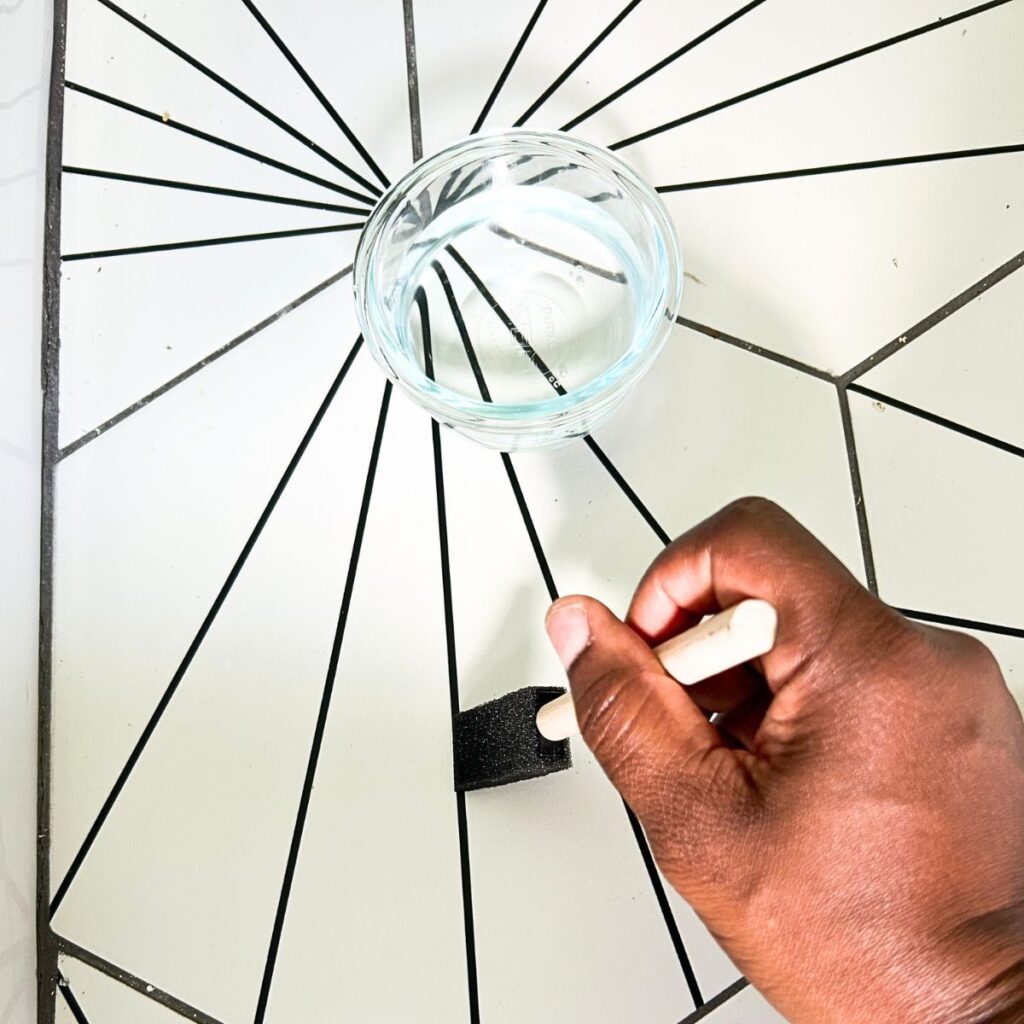
Pour some of the sealant into a bowl. Then, dip the foam paint brush into the bowl of sealant and apply the sealant to the grout line. Use the foam paint brush to go along the grout lines and apply it liberally and generously.
Try to work in small sections to ensure even coverage. Avoid getting sealer on the tile surface, as it can create a hazy or sticky residue.
Step 3 – Wipe excess with cloth
Allow sealant to penetrate and absorb onto the surface for 5 minutes. Once the time is complete, take your dry cloth and wipe away the excess sealant. This will seal and dry within a total of 30 minutes.
Step 4 – Apply a second coat of sealer (optional)
If a second coat is needed, allow 30 minutes of drying time between the first coat before applying the second coat.
Step 5 – Let the sealer cure
Allow the sealer to dry completely on your porous grout before using your tile floors or shower. Give it about 4-6 hours.
Within that time, try to avoid walking on the tile floor or getting it wet to ensure the sealer fully bonds with the grout.
Tips When Using Grout Sealer
- Open the windows to allow air circulation and proper ventilation when applying sealer.
- Try to test the absorbency of the countertop before applying the seal. If your counters absorb oils or liquids, a sealer is necessary.
- Make sure that your floor tiles are clean and free from any stubborn stains or dirt before sealing.
- Give the sealer time to dry before using the space
- Always choose a high-quality sealer that is specifically designed for grout.
How to Choose the Right Sealant for Your Tile Floors
When it comes to tile sealants, you’ll generally encounter two primary types: Penetrating and non-penetrating sealants. Penetrating sealants are designed to seep into the grout and tile, filling those minuscule pores effectively, thereby creating a barrier against water and dirt intrusion.
These sealants truly shine in areas where water exposure is frequent, such as showers or bathroom floors. What makes them particularly attractive is their ability to allow the grout and tile to breathe, preventing the entrapment of any water that might find its way past them.
On the other hand, non-penetrating sealants create a protective surface coating on top of the tile and grout. This coating serves as a water repellent, but it also has a drawback: it hinders the easy evaporation of water, potentially fostering mold growth and staining issues. While a penetrating sealant is typically the superior choice, a non-penetrating sealer can suffice.
Is there a specific grout cleaner I need to use once the grout is sealed?
There are many types of grout cleaners on the market. You can use a DIY grout cleaner that involves baking soda and hydrogen peroxide to regularly clean your floor grout or other grout cleaners that are safe on grout. Heavy cleaners can destroy the cement content in the grout.
How often should you seal grout?
The frequency of grout sealing depends on various factors, such as the type of grout, the amount of foot traffic, and the moisture level in the area. As a general guideline, sealing grout every one to two years is what I’d recommend. However, high traffic areas or areas prone to moisture, such as bathrooms or kitchens, may require more frequent sealing.
How do you know when it’s time to reseal your grout?
If you are unsure if your tile grout needs sealing, you can do a simple test. Just drop a few water droplets on the tile and grout. If the water forms beads and doesn’t get absorbed, your tiles are sealed properly. If the water soaks in and darkens the area, it’s a sign your tiles need sealing.
Is grout sealing necessary for tile floors?
Yes, it’s necessary, though not mandatory. While sealing your grout can offer various advantages, some tile and grout varieties might already come with a protective sealant applied during manufacturing, potentially eliminating the need for additional sealing.
What happens if you don’t seal the grout?
If you don’t seal your grout lines, it could become exposed to stains and other damage. Grout is very porous and can absorb liquids and other types of residues. Sealing your grout helps to protect it from damage and keeps it looking beautiful for years to come.
Can I seal grout on newly installed tile floors?
Yes, you can. However, it is recommended that you wait at least 72 hours after tile installation before sealing the grout. This gives the grout a full cure and ensures a more effective seal.
Can I seal colored grout?
All grout lines must be sealed, whether it is gray, black, or white grout. However, it’s essential to test the sealer in a small, inconspicuous area first to ensure it doesn’t alter the color or appearance of the grout.
How long should you wait to seal the grout after installation?
Wait at least 72 hours after installing fresh grout before sealing it. This will give the grout plenty of time to dry to properly absorb the sealer.
Other posts you might like:
- How to Seal a Granite Countertop
- How to Clean Mold in Shower and Safely Prevent it
- Guest Bathroom Essentials Checklist
Hopefully, you have found this step-by-step guide useful. Sealing grout is a crucial step in maintaining the beauty and longevity of your tile floors. Following the step-by-step instructions in this guide, you can confidently seal grout on your own, ensuring a stunning and protected tile surface.
I’d love to hear your thoughts. Please leave a comment below. Feel free to follow me on my social media pages – Pinterest and Instagram or subscribe to my mailing list for other design inspiration and home decor ideas.
Tamara White is the creator and founder of The Thrifty Apartment, a home decor and DIY blog that focuses on affordable and budget-friendly home decorating ideas and projects. Tamara documents her home improvement journey, love of thrifting, tips for space optimization, and creating beautiful spaces.

