This post may contain affiliate links.
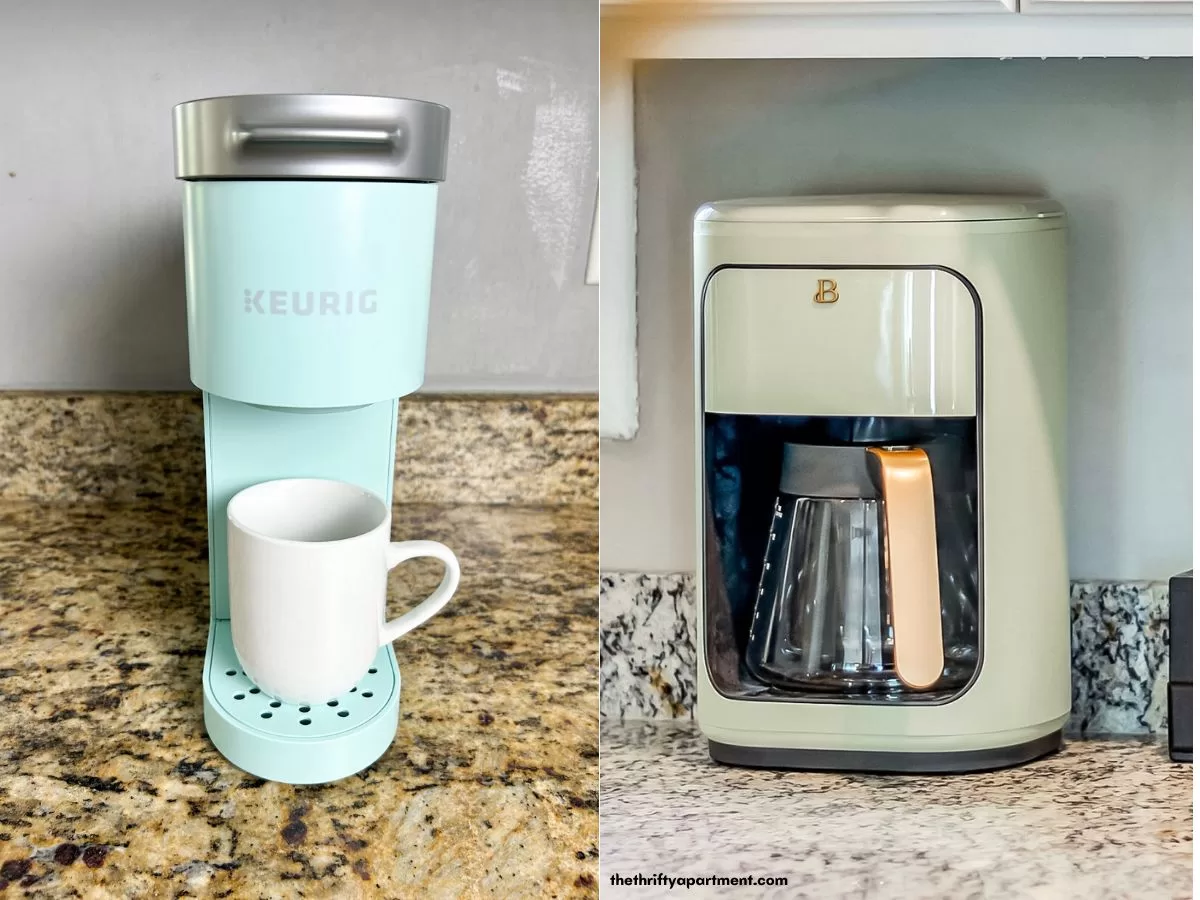
If you’re a coffee lover, chances are you find yourself making frequent trips to the kitchen to satisfy your coffee cravings. But have you ever considered how filthy the coffee maker gets with each and every use? This frequently used appliance can become a breeding ground for bacteria, germs, and mineral buildup.
A dirty coffee maker can negatively impact the outcome of your coffee and the machine’s longevity. The filth and mineral buildup could alter the bold flavor of your coffee and the coffee maker’s brewing speed.
Here’s a quick and easy way to clean your coffee maker with vinegar.

Supplies Needed
- White Vinegar
- Coffee Maker
- Dish Soap
- Dish Cloth or Rag
- Sponge
- Coffee Filter
Step 1 – Clean the Coffee Maker Parts
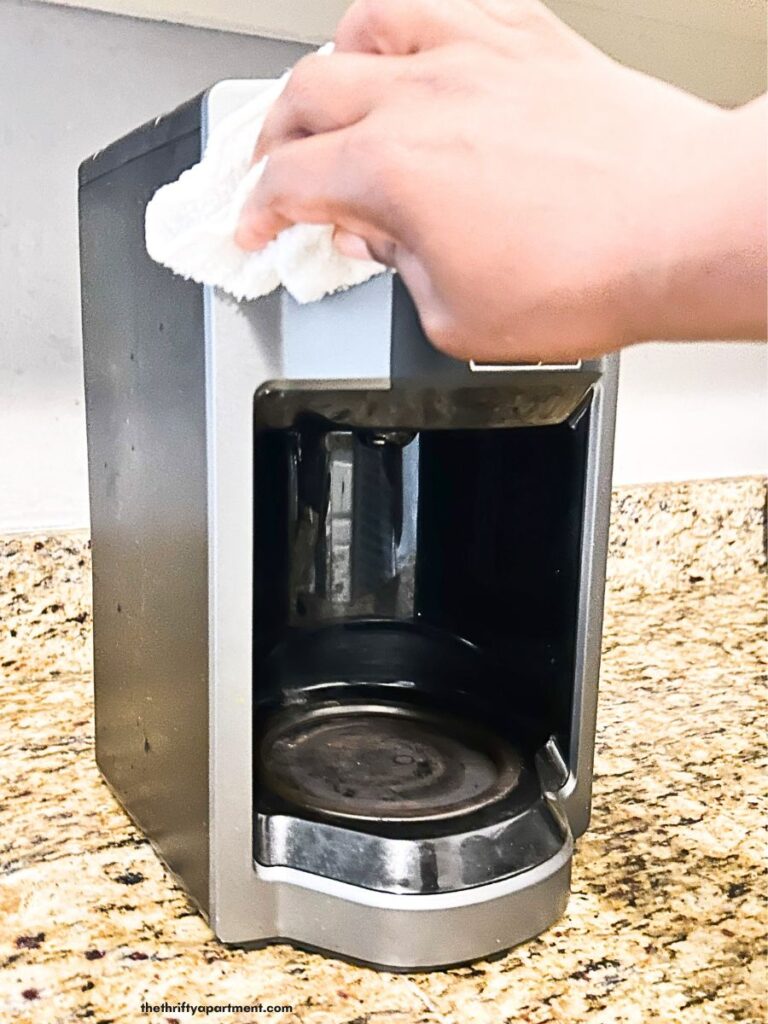
The first step is to remove any coffee grounds and old coffee left behind from your last brew of coffee. Take apart the removable parts of the coffee maker, including the brew basket and coffee pot.
Wipe down the surfaces of the coffee machine with a damp cloth or wet paper towel and vinegar, including the sides, in the areas where the coffee pot sits, the filter area, and the spout. Take your time to meticulously clean these areas to remove any form of dirt or coffee buildup that may be visibly present on their surfaces.
Step 2 – Wash the Filter Basket and Coffee Pot
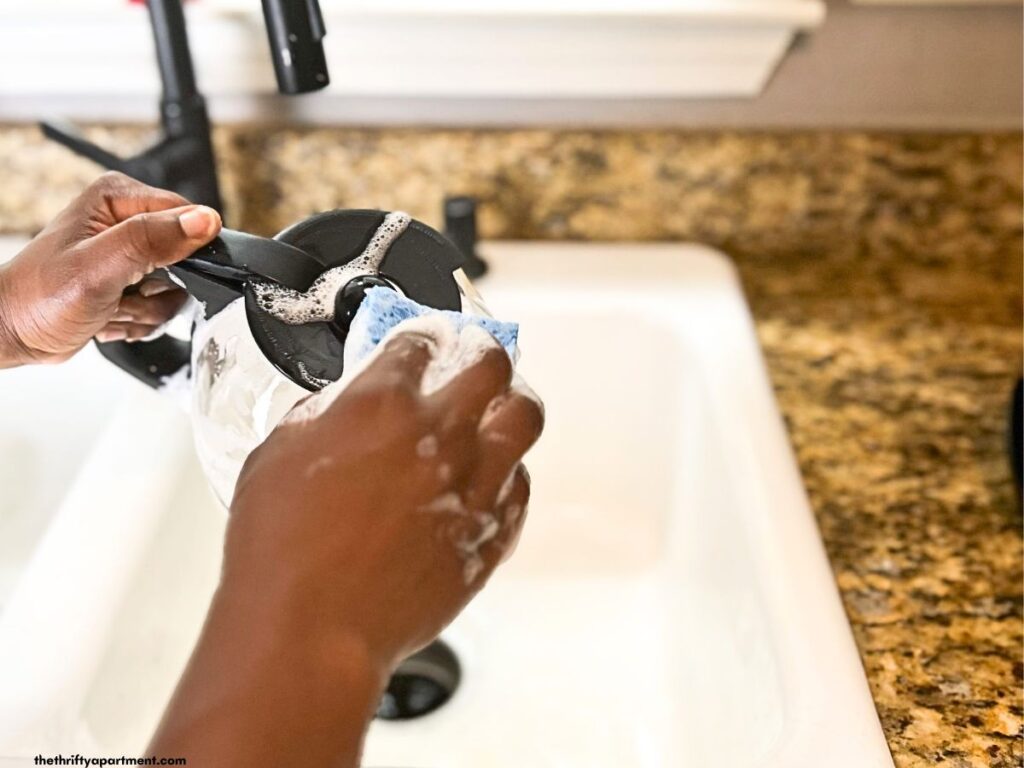
Wash the coffee pot and filter basket with hot, soapy water and a sponge. This will remove coffee stains and dirt buildup. Pat them dry with a paper towel or dishcloth. Put all the parts back in place except for the coffee pot.
Step 3 – Add Vinegar
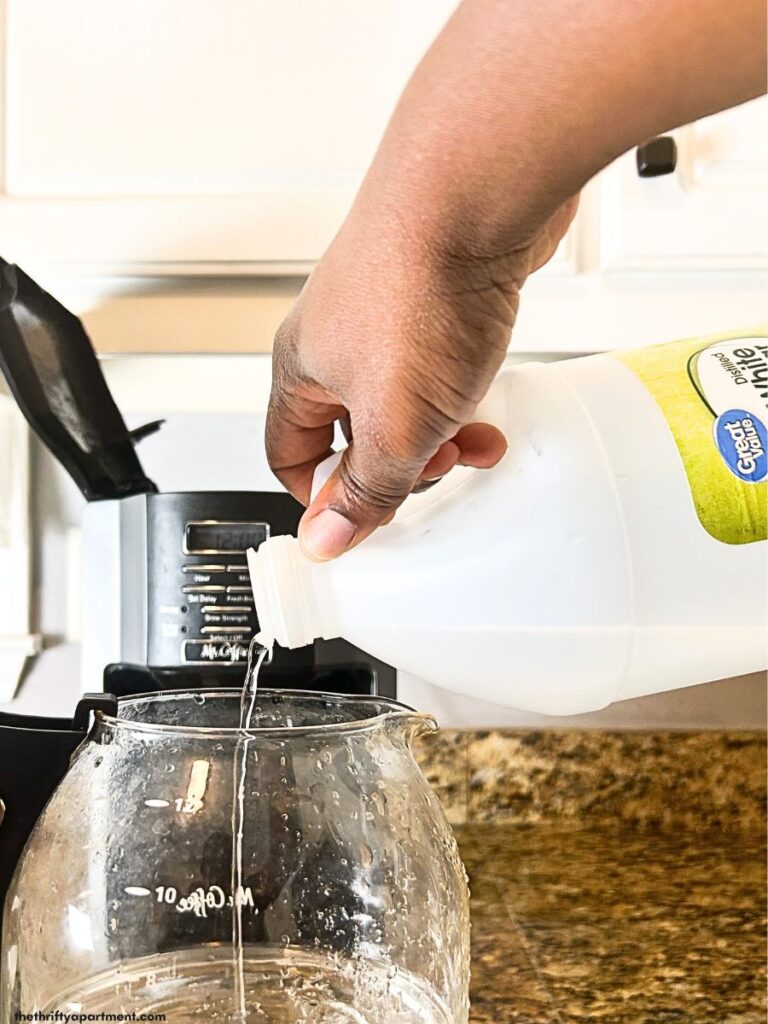
Fill the coffee pot with three cups of vinegar and one cup of water. You can easily measure the amount of vinegar using the coffee pot’s measurement line. Your goal is to fill the coffee pot a third of the way.
Step 4 – Add Coffee Filter
Place an empty paper filter into the coffee maker’s basket.

Step 5 – Fill the Water Reservoir
Begin to pour the water and vinegar solution into the coffee machine’s water reservoir as if you were making a pot of coffee. As you pour, you will hear the coffee maker making its usual sound when it is ready to brew.
Then, turn the spout and run a brewing cycle.

Step 6 – Filter the vinegar solution
As the coffee machine brews, you will begin to see the light brown-colored filtered water filling the pot. This water will prove that the cleaning solution is doing its job. Allow it to brew halfway, then pause it and allow it to sit for 15 minutes.

The half-brew cycle should help clean and disinfect the coffee machine’s interior and give the vinegar enough time to break down bacteria and mineral deposit buildup.
Once the time has passed, let the coffee machine finish its brew.
Step 7 – Run another brew cycle
Run another brewing cycle with fresh water to remove the vinegar residue, taste, and smell. This will flush out the remaining vinegar and bring it back to a place where it can be used again.
Run another water cycle if you feel that the smell and taste of vinegar are still present.
This simple brewing process with vinegar should be all you need to deep clean your coffee maker.
Why use vinegar to clean your coffee maker?
Vinegar is a very powerful cleaning agent. It is safe, non-toxic, and chemical-free, making it the perfect cleaning solution for households that prefer a more organic cleaning approach.
With its high acidity and ability to kill germs and disinfect, it is the perfect cleaning agent for the coffee maker to help cut through some of the deepest stains, mineral deposit buildup, and bacteria.
Since vinegar is readily available in most households, it makes the perfect cleaner for a coffee machine, microwave, and other kitchen appliances. This natural cleaning solution is strong enough to kill any form of bacteria that may form in your coffee maker.
Signs that Your Coffee Machine Needs Cleaning
There are a few signs to pay attention to determine when your coffee machine needs cleaning. Signs include:
- Visible dirt and residue – when you see coffee residue and dirt on the machine, it is a clear sign that it should be cleaned.
- Slow to brew – If your drip coffee maker is brewing slower than usual, it is likely due to a clog or blockage caused by dirt or debris.
- An unusual smell is coming from the coffee maker.
- Half-way brew – If the coffee pot only fills halfway, even though you made an entire pot of coffee.
- Coffee grounds are present in your cup of coffee.
- There’s a not-so-great distinctive coffee taste to your usual cup of coffee.
- A stained coffee pot indicates that the coffee machine should be cleaned.
- Excessive steam or spattering inside your coffee maker could indicate a clogged spout or water lines requiring cleaning.
How often should I clean my coffee maker?
If you use your coffee maker daily and want to keep bacteria, mold, and mineral buildup at bay, then it is recommended that you clean your coffee maker at least once a month.
The coffee pot should be rinsed with water after every use.

Tamara White is the creator and founder of The Thrifty Apartment, a home decor and DIY blog that focuses on affordable and budget-friendly home decorating ideas and projects. Tamara documents her home improvement journey, love of thrifting, tips for space optimization, and creating beautiful spaces.


i lovethis tip and that you provided detailed instructions. I can’t wait to see your other cleaning tips!
Thank you.