This post may contain affiliate links.
We were getting a bit bored with our plain walls and wanted to liven up our living room. The idea of a wooden slat wall seemed like a modern way to add warmth and character to our space. It’s a simple but attractive addition that can give your room a more stylish and contemporary feel. This type of slated wall has a rustic charm and natural beauty that can improve any room’s atmosphere without much effort.
I eventually decided to give it a try and to be honest, it turned out to be easier than I initially thought, especially once I had all the materials ready. The most challenging part was cutting the wood board to create the slats.
So, if you’ve been thinking about adding something unique to your living room, I can guide you through installing slat walls – from choosing the right wood to measuring and cutting the slats, along with all the mistakes and hiccups I encountered.
So, if you’re up for it, grab your tools, and let’s get started.
This post may contain affiliate links, which means I will earn a small commission if you purchase through my link. Please see the full disclosure and privacy policy for more information.
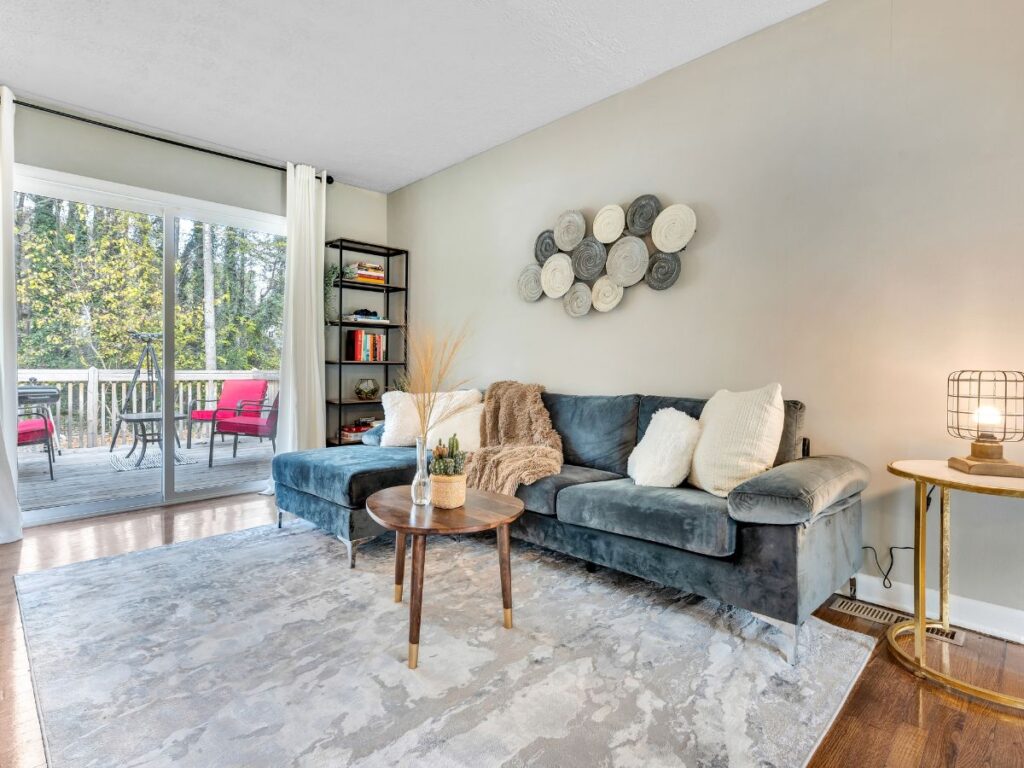
Original Look of the Wall
The current wall had been coated with Sherwin Williams’ Mindful Gray paint. It served its purpose as a plain, neat wall for some time, but we recognized the potential to enhance it with wooden slats.
Supplies Needed
- Wood slats – I used 4×8 Sande Plywood
- Stain (optional) – We used Varathane gunstock wood stain color
- Measuring tape.
- Circular saw
- Drill or screwdriver
- Brad Nailer
- Brad’s nails
- Level
- Wood glue
- Orbital Sander or Sandpaper
- Paint for wall (optional) – I used pewter green by Sherwin Williams
- Paintbrush
- Rag
- Drop cloth
- Painters tape
- Paint Rollers
DIY Slat Wall – Step-by-Step Guide
Step 1: Measure and plan
Before you begin, measure the wall dimensions where you want to install the wood slat wall. Take into account any doors, windows, or other architectural features that may affect the placement of the slats.
Use a measuring tape and level to mark the locations where the slats will be attached to the wall. Consider the direction in which you want the wood slats to run. A vertical wood slat wall can make a room appear taller, while horizontal slats can create a sense of width and openness. We opted to go vertically, floor to ceiling, across the entire living room wall.
Next, determine the spacing between each slat. This will depend on your design preference, but a common range is 1 to 4 inches.
Step 2: Cut the wood slats
When we visited Home Depot, we originally thought of purchasing these 1×2 pre-cut pine wood. However, once we calculated the cost to cover the entire wall, it was well above the budget we had allocated. Select pine wood cost approximately $7.40 each, which would be well over $500 just for the number of wood pieces we needed.
Instead, we opted to buy (3) 4’x8′ sheets of plywood for around $65 each. Each 4’x8’ plywood created approximately 27 pieces of the 1×2 wood slats.
We used a circular saw to cut the wood slats. We double-checked the measurements over and over again to make sure before making any cuts to avoid any mistakes.
If you have pre-cut wood slats, then you may be able to skip this step.
Step 3: Sand the wood slats
Use sandpaper or sander to give the wood slats a smooth finish. This will help to smooth out any rough edges or surfaces. This will prevent any splinters and ensure a more polished look. After sanding, wipe away any dust with a clean cloth.
Step 4: Stain the slats
Apply the desired finish to the wood slat wall. I used the gunstock stain color by Varathane.
When staining, stain the front of the wood that will be seen and the sides of the slats. No need to stain the back. Allow it to dry overnight before proceeding to the next step.
Staining is optional, but another option is to let the natural wood tone shine through.
Step 5: Prepare the wall and remove baseboards
The color of the wall behind the slats is crucial as it serves as the backdrop for the slats themselves. You might want to consider selecting a darker shade for a more striking and contemporary appearance.
In our case, we decided on a darker background and painted the wall with Sherwin Williams Pewter Green. We found this color appealing and thought it would create a pleasing contrast with the wood slats. I applied two coats of this paint using a paint roller and touched up the edges with a paintbrush.

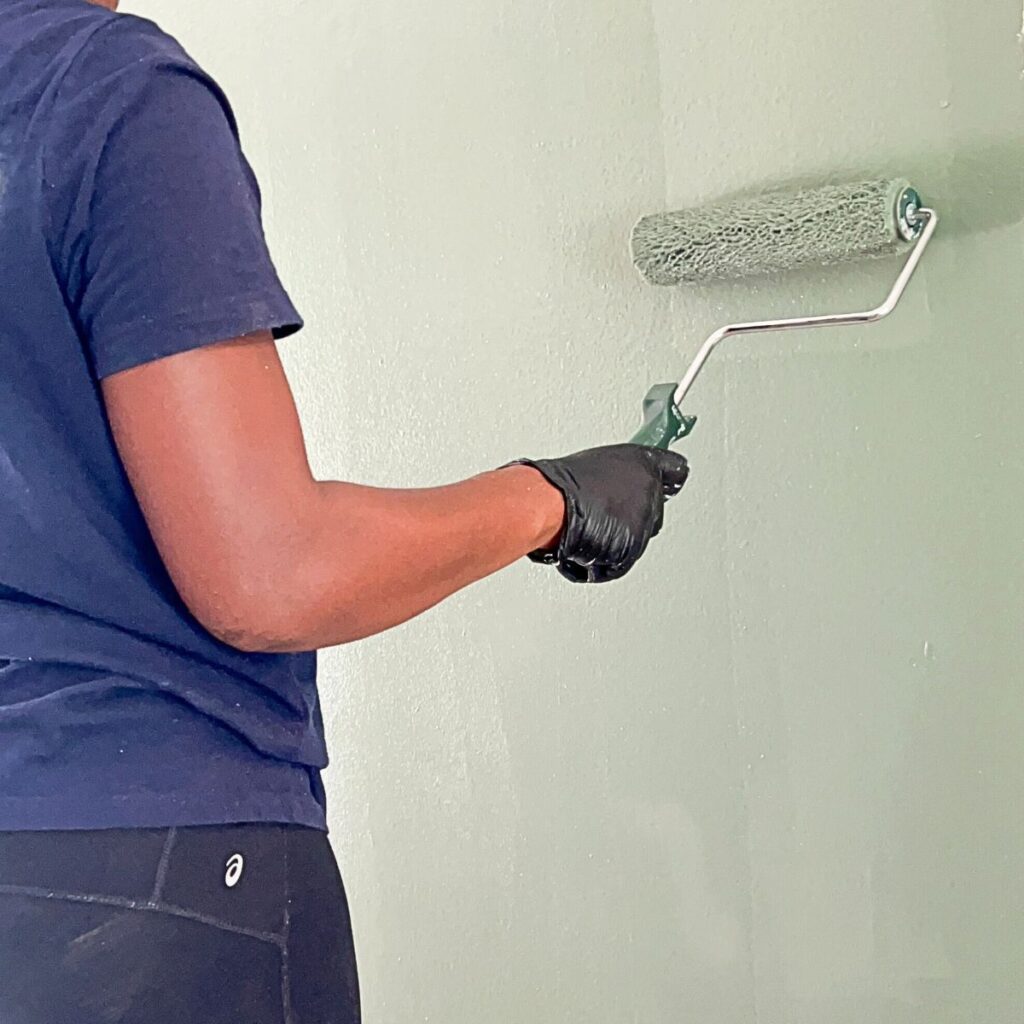
Additionally, we had to remove the existing baseboards for this project. When we took them out, we chose to create unique baseboards using stained pieces of plywood that matched the original baseboards’ size. It’s worth noting that this step isn’t mandatory; you can also remove the baseboards and have the wood slats run flush from the floor to the ceiling.

Step 6: Attach the wood slats
To begin installing your wood slats, start from either the left or right side of the wall. Before you start, think about the spacing between each slat. We used a spare wood slat as a support board to create a gap of approximately 1 inch between each vertical slat. However, standard spacing can range from 1/4-inch to 1-inch apart.
Place one wood slat on the wall at a time, paying special attention to the first one to ensure its level. Since even in newer houses, walls might not be perfectly straight, use a level to confirm the alignment. Hold the first wood slat in the corner and check its level with the help of the level tool before attaching it.
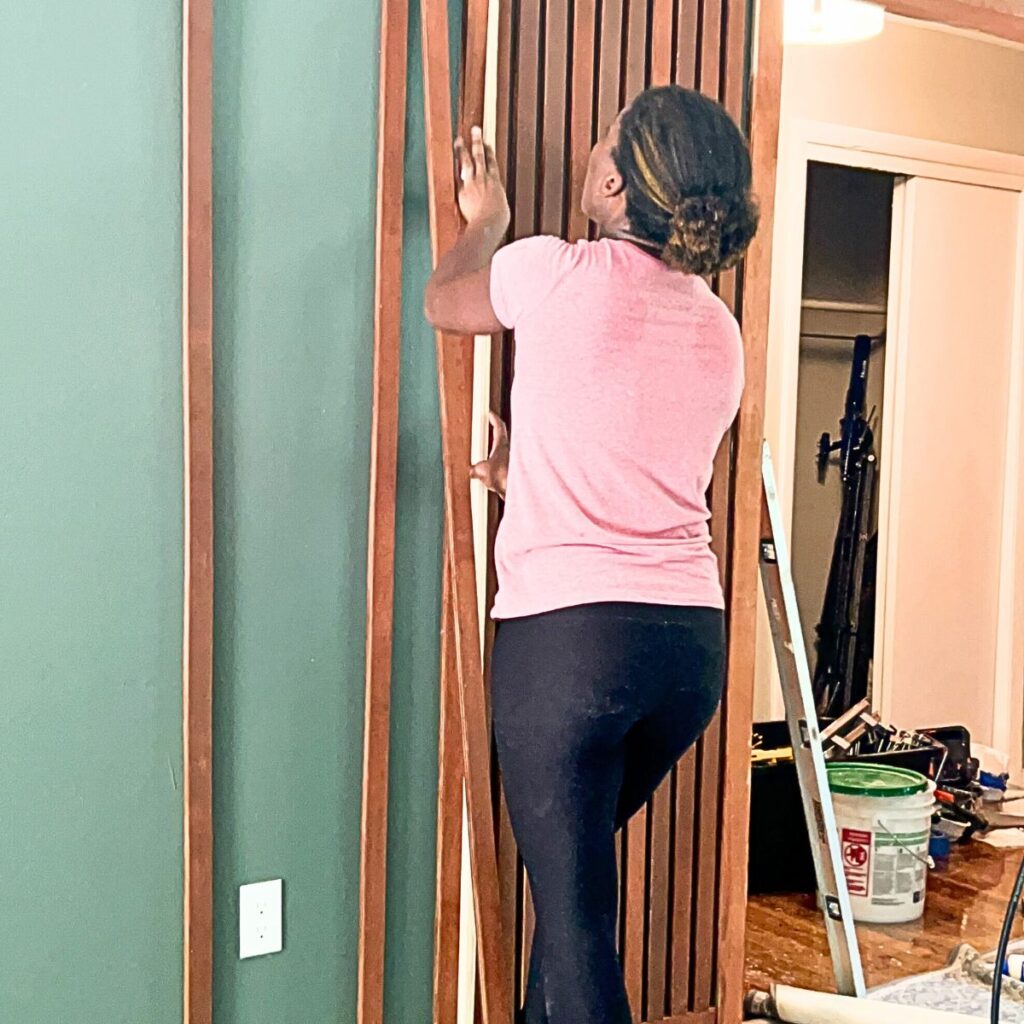

Once it’s leveled, use a brad nail gun to secure the wood slats to the wall with the brad nails. We nailed them at the bottom, top of the wall, and a few nails in the middle for added stability. You can also apply wood glue to the back of each slat before attaching it for extra support.
Now that you’ve established that the first board is level, you can set aside the level and use a spare wood slat turned on its side as a spacer between the boards for the remainder of the DIY slat wall installation. Continue attaching the subsequent individual slats one at a time, using the scrap piece of wood as a spacer until you reach the desired number of wood slats on wall.
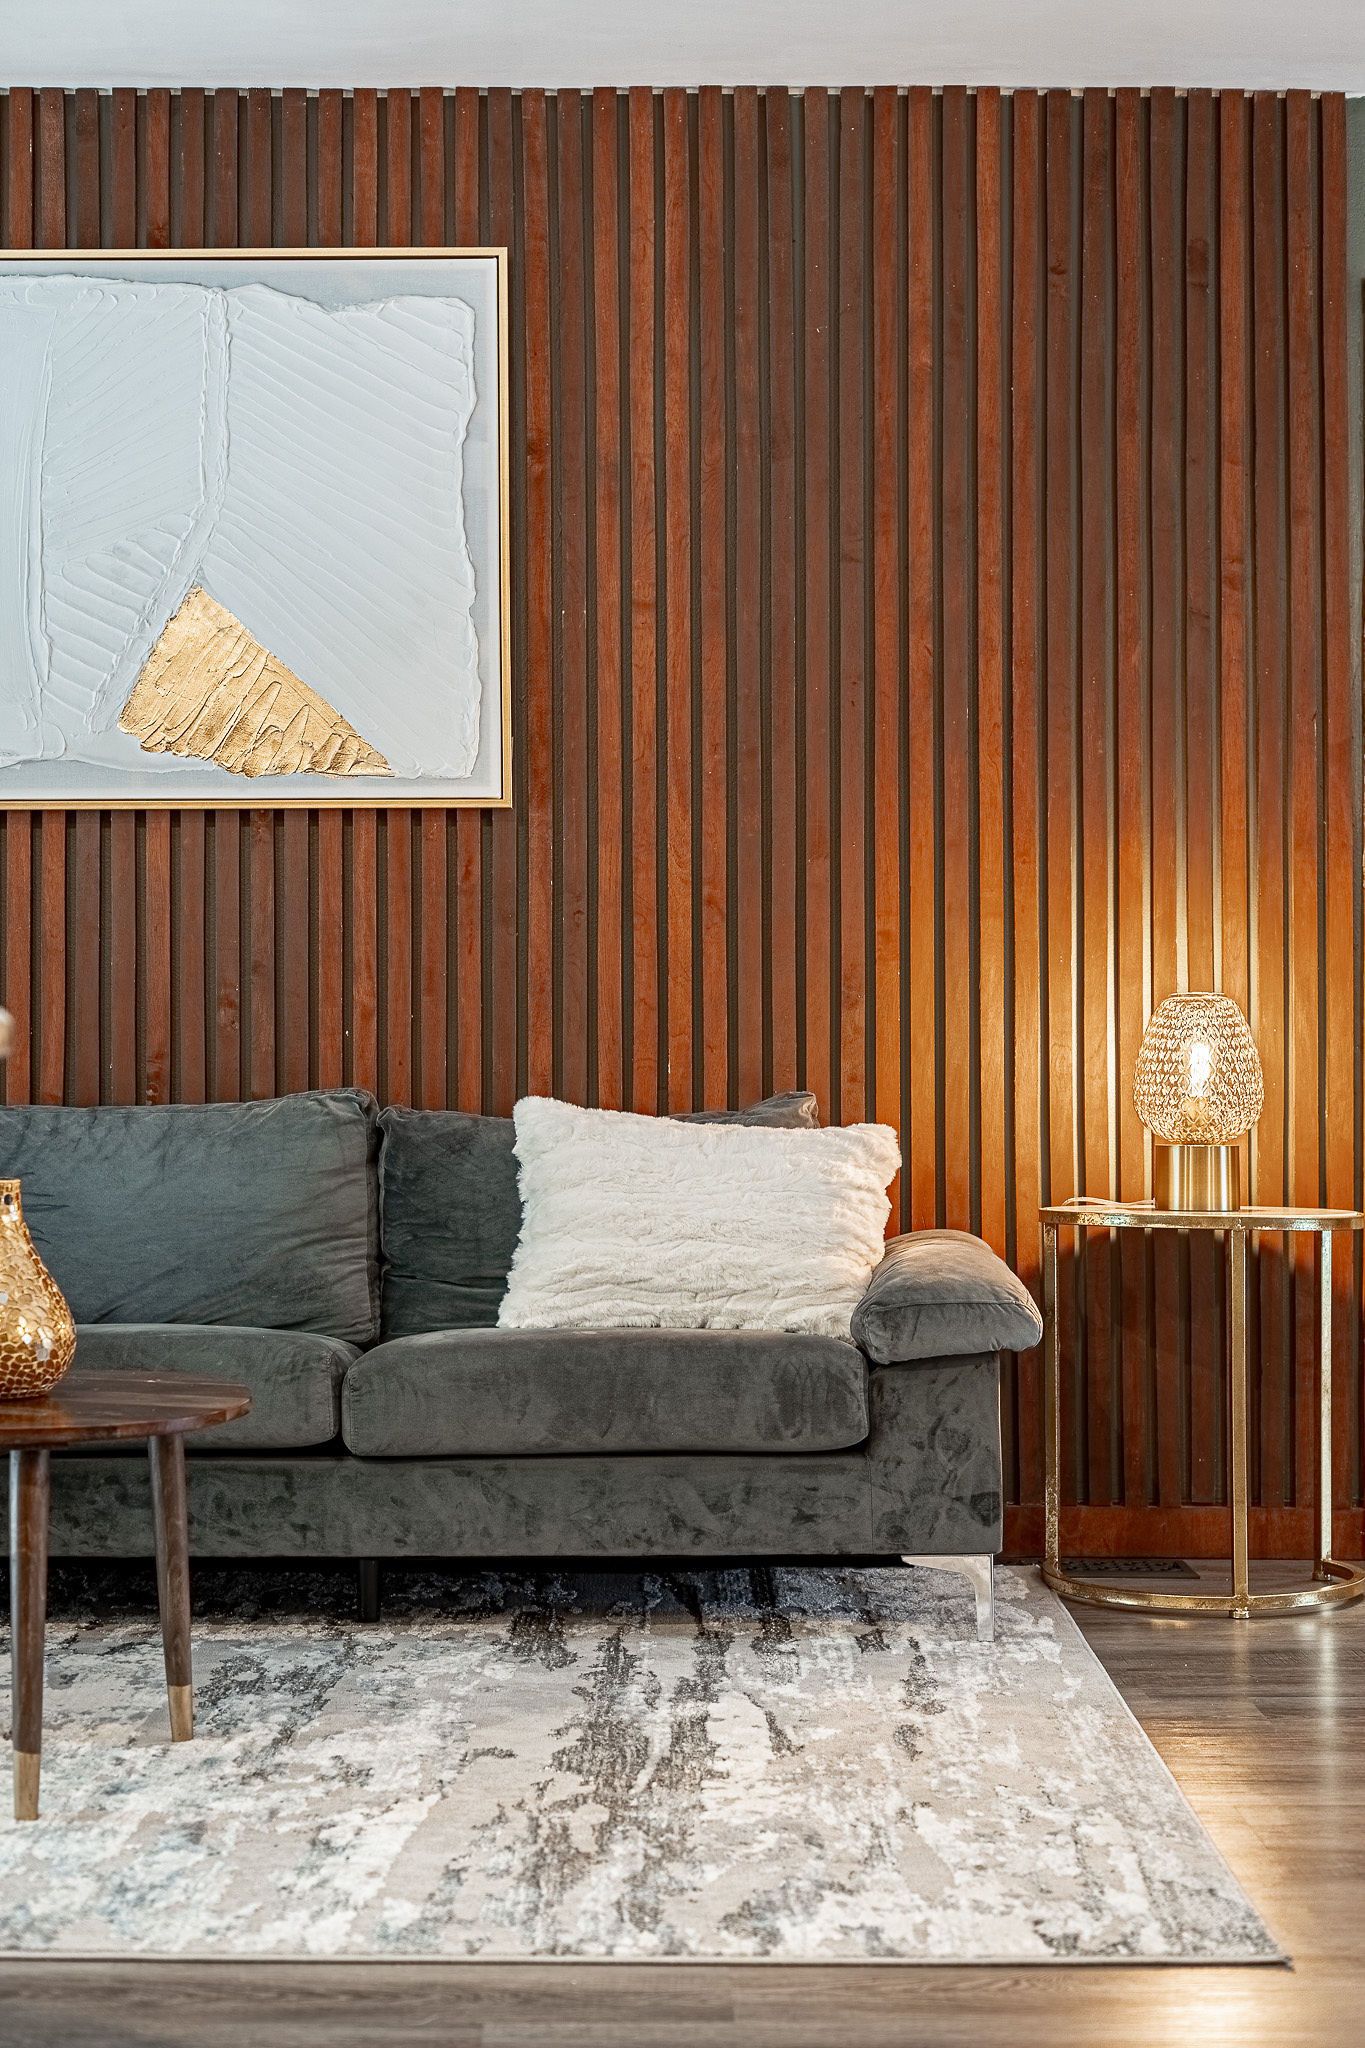
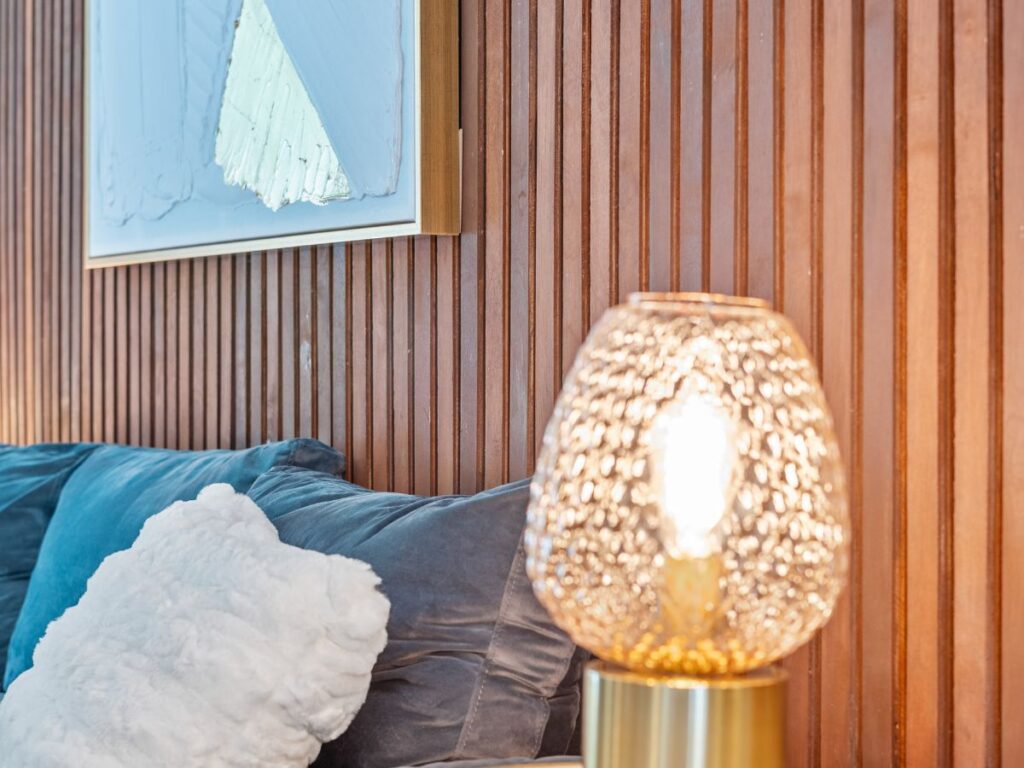
Take a step back and admire your final look. Your new wood slat wall will instantly elevate the ambiance of your space and become a conversation piece for guests.


Tips for Installing Wooden Slats
Prepare for wall abnormalities – Your walls may not be completely even, so it’s important to measure repeatedly before you cut. You may have to adjust some of the slats to fit the wall length of the wall. Some wall areas were slightly off, so we had to adjust the wood slats accordingly.
Consider Types of Wood – Several options exist when choosing the right type of wood for your DIY wood slat wall. Each type of wood has unique characteristics and aesthetic appeal, so selecting one that aligns with your design vision and budget is important. Options may include pine wood, cedar wood, hardwood, or birchwood.
Materials like Birch plywood, maple, or pine wood are solid choices with more appealing wood grain patterns, which is great if you intend to stain or leave your wood slat accent wall with its natural wood appearance.
Cost of Wood – The cost of the wood slats will depend on the type of wood chosen, the quantity needed, and the quality of the wood. Pinewood tends to be more affordable, while hardwoods like oak or walnut can be more expensive. We opted for the plywood because it was the most cost-effective choice. However, it does require more labor and time.
Other posts you might like:
- How to Build a Fire Pit in Your Backyard
- How to Whitewash a Stone Fireplace
- DIY White Wash Brick Fireplace: The Pros and Cons
A wood slat wall is a versatile and visually appealing addition to any interior space. It will add much visual interest, warmth, and character to your home. While we used this in our living room, wood slats also make great additions to the master bedroom and bathrooms.
I hope you enjoyed this DIY slat wall project. Please comment below to let me know what you think of this article. Follow me on my social media pages – Pinterest and Instagram or subscribe to my mailing list for other design inspiration, DIY projects, and home decor ideas.
Tamara White is the creator and founder of The Thrifty Apartment, a home decor and DIY blog that focuses on affordable and budget-friendly home decorating ideas and projects. Tamara documents her home improvement journey, love of thrifting, tips for space optimization, and creating beautiful spaces.
