This post may contain affiliate links.


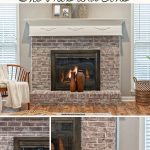

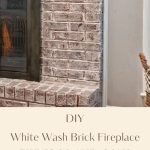
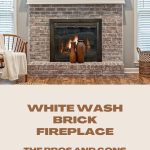


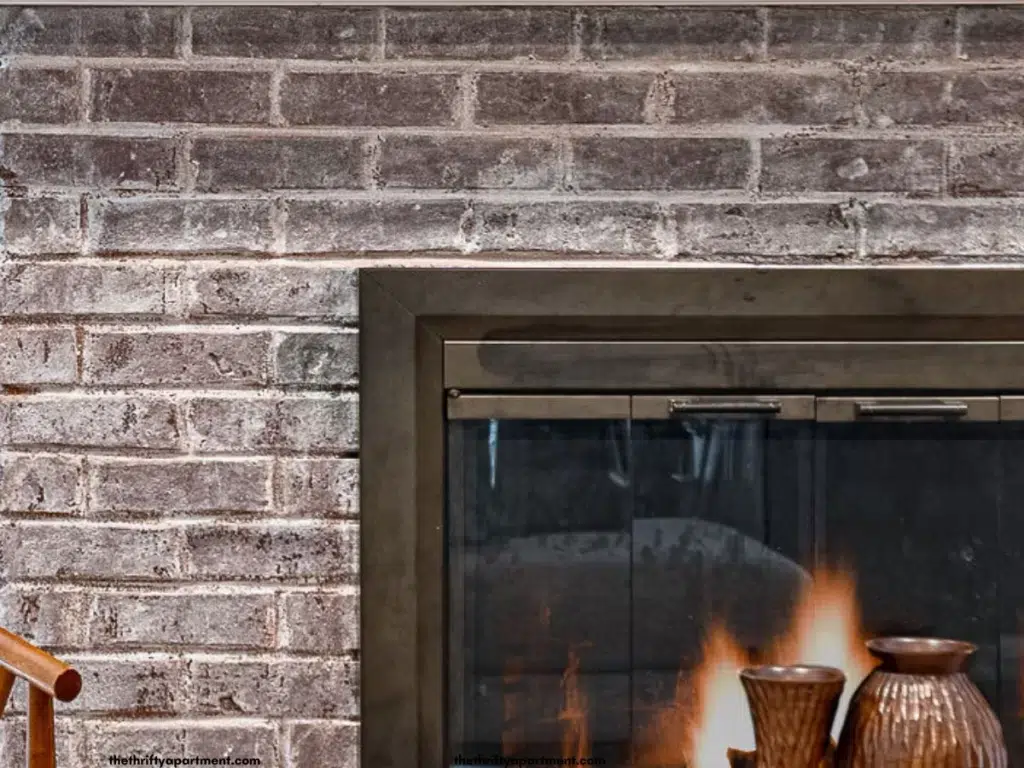
Whitewashing a brick fireplace is a rewarding DIY project that can give your home a fresh, modern look. If you’ve been following along with my remodeling journey, you’ll know that I enjoy applying a whitewash finish to both stone and brick surfaces.
I’ve had the chance to do this on various occasions and have always been pleased with the outcome. Whitewashing a fireplace offers a budget-friendly way to update its appearance without the need for a costly full remodel.
One of the great things about this project is that you don’t need to hire a professional painter or remodeler – it’s something you can do yourself. The whitewashing process is straightforward, and with the right materials and techniques, you can enhance the character of your home.
If you’re considering whitewashing your brick fireplace, I’ll provide you with all the necessary information, including the pros and cons and the best technique to use.
What does it mean to whitewash your brick?
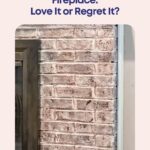
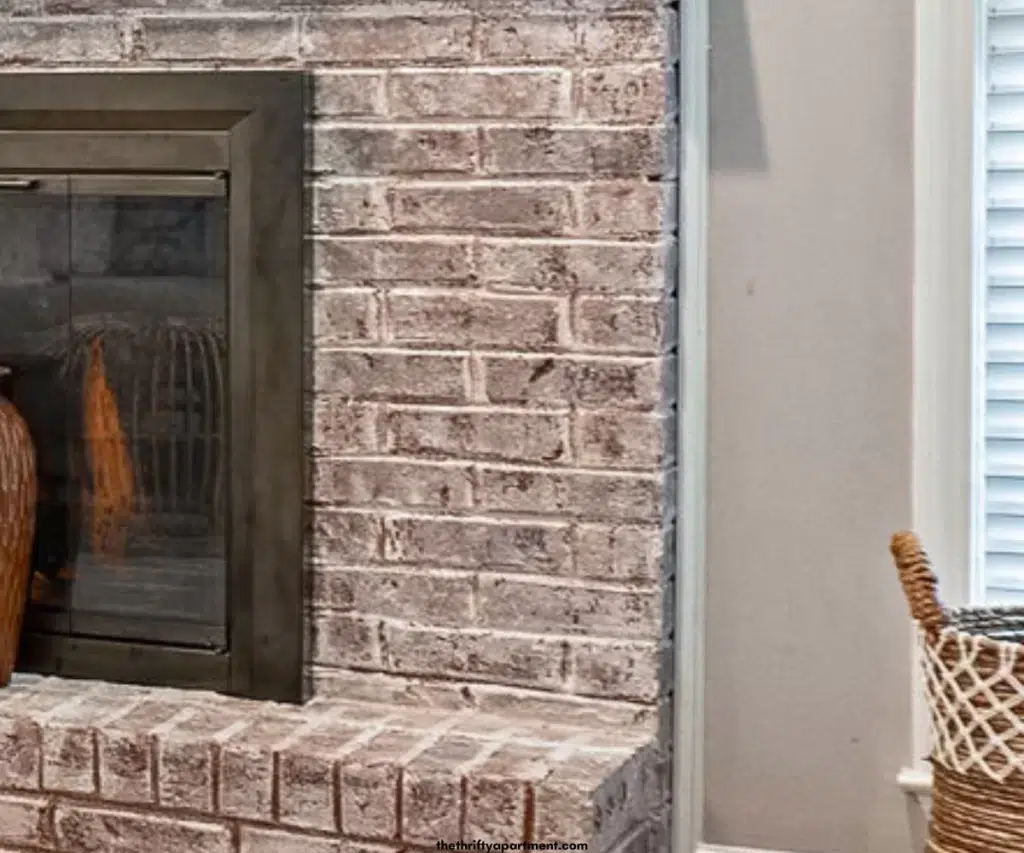
To white wash your brick means applying diluted white paint over the existing brick, giving it a subtle washed-out effect. When you white wash brick, it helps soften the brick’s natural look while updating its appearance.
Pros – White Wash Brick Fireplace
1. Low, cost-effective solution
Whitewashing a brick fireplace is quite affordable and doesn’t require a significant investment of time and resources. It is an inexpensive and easy way to give the room an entirely new look, as all that’s needed is paint, water, a brush or sponge, a bucket, and drop cloth to protect your floors.
The entire process cost me approximately $25 to complete. If I were to hire a professional, it might run hundreds, if not thousands, of dollars. Additionally, it can be done with minimal disruption to the home’s existing layout and architecture.
2. Easy and quick application process
Whitewashing a brick fireplace is a surprisingly straightforward and easy DIY project. You can have your brick fireplace looking brand new within a couple of hours. It took me a half day to complete mine and that’s because I took meticulous time.
3. Update the look of a room
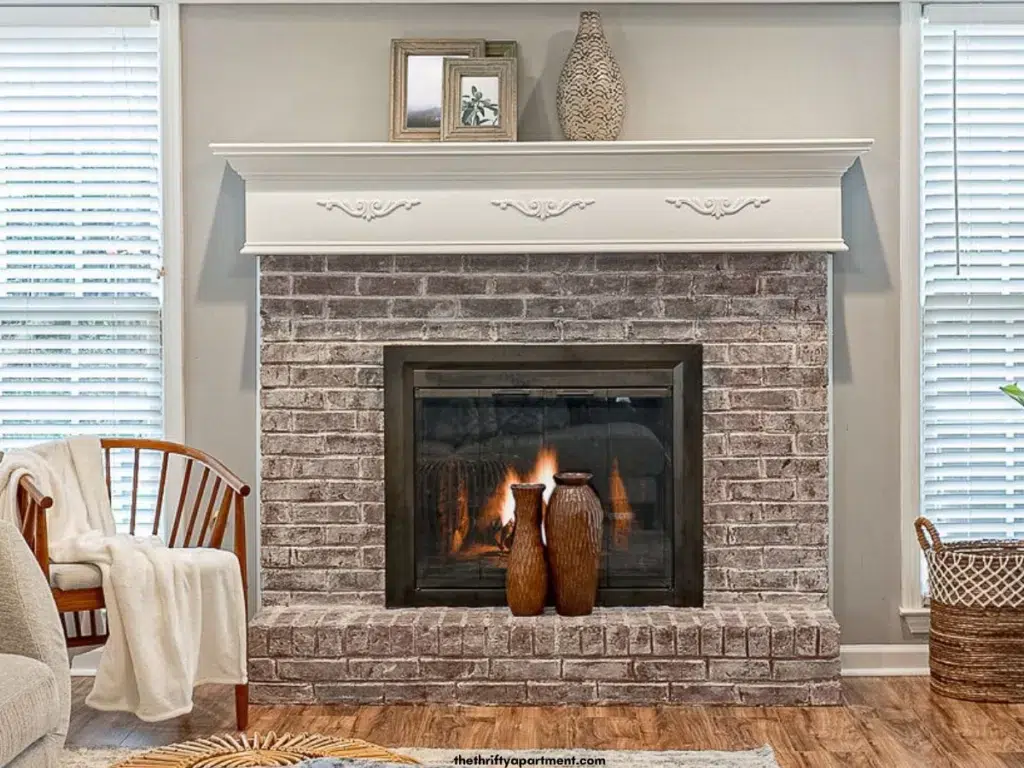
Whitewashing gives your brick fireplace an entirely new, modern look without any major renovation. This means you don’t have to worry about needing more complicated and expensive repairs, like replacing the bricks or undergoing complicated structural changes. Whitewash helps to accentuate your existing brick fireplace in the living room or bedroom and bring out its full potential and character.
Whitewashing a brick fireplace won’t crack like paint will when it gets older and it will hide any imperfections or discoloration in the brick caused by weathering, age, or neglect. Whitewashing brick will help to soften the look of a room and add texture, making it a versatile design choice. This makes it ideal if you hope to give your room an updated look without the hassle.
4. Customizable
Whitewashing provides plenty of opportunities for customization when it comes to creating your unique style in your home. Depending on how thick you apply the paint mixture, you can create different effects ranging from subtle highlights to more dramatic full coverage looks.
You can also mix different colors together or add texture with special tools for even more customizing options so that your finished project matches perfectly with your desired aesthetic.
5. It will last a long time.
When you whitewash your natural brick fireplace you are practically breathing new life into your fireplace. This fresh new look will last for years to come – possibly up to 20 -30 years.
6. It’s a permanent change.
Whitewashing your fireplace is a permanent change. Because brick is porous, once you make the change, there is no return to the original brick look.
Cons – White Wash Brick Fireplace
1. Risk of uneven application
Whitewashing requires some preciseness as it requires the paint to stick evenly to the brick. If not done correctly, it can result in an uneven finish, with some areas receiving more or less paint than others. This can leave visible brush strokes and ridges that appear unprofessional or out of place.
The technique requires you to have good control over the amount of water-to-paint ratio you’re using, as well as precision in applying it evenly across the brick surface. Too much water can create drips, while too little will lead to an overly thick texture that won’t blend into the brick properly.
Because of this difficulty level, it’s easy for amateur painters and decorators to make mistakes that create an unsatisfactory finish compared with professional results.
2. It is trendy
While I don’t think this look will go out of style anytime soon, whitewashing is currently on trend. That means that there is a chance that it can go out of style. However, most interior designers agree that this trend is here to stay and will stick around for a while.
Whitewashing brick has been a popular design trend in many farmhouse, coastal, and contemporary-designed homes. With its rustic, shabby-chic look, it complements a variety of design styles.
3. It may require several coats
Once you whitewash brick, depending on the look you are going for, you may have to reapply a few more coats to get that perfect look. The best practice is to test the whitewash mixture on an inconspicuous area of the brick. Testing will allow you to see the paint-to-water ratio to ensure you are satisfied with the brick’s opacity and look.
How to Whitewash a Brick Fireplace
Supplies Needed
- White Latex paint
- Mixing bucket – 5-gallon bucket for mixing ingredients
- large sponge brush – for distressing
- small brush
- Microfiber cloth
- Paint stirring stick – or anything that can stir the paint mixture
- Dish soap or white cleaning vinegar
- Painters tape – protection for floors and walls
- Drop cloth
- Water
Most of these supplies you can grab from Home Depot, Lowe’s, or any local paint or hardware store.
Step 1: Clean the brick fireplace
Clean the brick surface by dusting and wiping it down with a damp, soapy cloth, removing any visible dirt.
Step 2: Prepare your brick fireplace.
The painting process can be messy and drippy, so cover any surfaces that you do not want to get paint on. Use painter’s tape and drop cloth along the fireplace’s trim and base. Protect the surrounding areas, such as floors and walls.
Step 3: Create the paint mixture.
Create the whitewash solution using water and paint. For every 2 cups of water, use 2 cups of paint to get the right consistency of watered-down paint. This should result in a 50 percent latex paint / 50 percent water mix.
Step 4: Paint the grout lines.
Paint the grout lines with a paintbrush. Use the smaller paintbrush to fill in hard-to-reach areas and edges, especially if it’s black grout.
Step 5: Paint the brick.
Take the paintbrush and begin painting the brick in its entirety. Use a rag and blot the excess paint on the brick.
Try to work on small areas and sections at a time. Continue the process until the fireplace is complete with a consistent look.
Step 6: Let it settle and dry.
The drying process is relatively quick, but I recommend that you let it dry overnight. You can always go back and assess how you feel about the look.
Other methods used for whitewashing brick fireplace
While my preferred method for whitewashing brick is using latex paint with the right water ratio, other methods can be used to refinish your brick fireplace. Other methods include:
Limewash – This process involves crushed limestone mixed with water to create a paint-like substance. It is a natural, mineral-based solution that results in a matte texture (similar to chalk paint), creating an earthy appearance with lots of texture. This process may require retouching every 5-7 years because it does erode over time.
German Schmear vs Whitewash – The process of German Schmear requires partially covering the brick by smearing mortar across the brick’s face. The German smear doesn’t penetrate the brick’s surface; it simply covers it. It will give the brick a contemporary yet rustic appearance.
German smear adds a touch of European sophistication as this finish mimics the look of century-old castles and cottages in Germany with its heavy mortar joints. It is also called a Mortar Wash, precisely the same as a German Smear. In choosing German smear vs. whitewash, it all comes down to personal preference and available supplies.
Why whitewash vs. paint a brick fireplace?
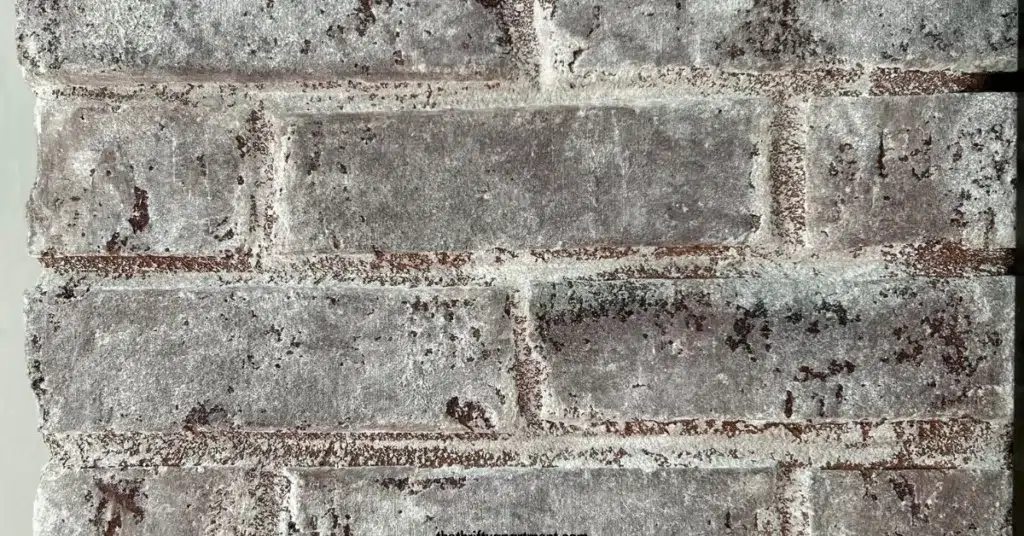
When you whitewash brick, it lets you keep the texture and depth of brick surfaces while softening the brick’s tones. Traces of the brick’s color will surface beneath the thin, diluted paint, making for a brighter, modern appearance. When you paint brick, it provides a fuller coverage.
There are many types of paint that are specific to brick fireplaces. The most popular paint is from a company called Brick-Anew. Their paint kits offer color whilst also keeping the natural brick effect. It’s an option if you want a different color than whitewash.
What’s an ideal paint to whitewash brick?
Latex paint is the best paint to use to white wash brick.
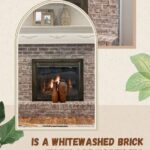
Is whitewashing brick a good idea?
Whitewashing a brick fireplace can be a great way to update the look of a room and achieve a lighter, more rustic aesthetic. When you white wash it gives the brick a light, washed-out appearance that works well with a variety of design styles including farmhouse and coastal themes.
However, it is vital that you consider brick’s condition before you whitewash it. The brick might require extensive cleaning and sealing before being whitewashed. Additionally, older bricks may have cracks or other damage that should be repaired before applying the solution.
Is whitewashing bad for a brick?
Whitewashing a brick fireplace is not harmful to the brick. If done correctly, it can actually help to protect the brick from further damage and discoloration.
Other posts you might like:
- How to Whitewash a Stone Fireplace
- 14 Most Popular Benjamin Moore Cabinet Paint Colors
- 16 Best Cabinet Paint Colors by Sherwin Williams, 2023
The bottom line is that when you whitewash a brick fireplace, it can be an excellent way to add a unique and timeless look to your home. It is relatively simple and cost-effective DIY project and a great way to modernize your home.
Please comment below to let me know what you think of this article. Feel free to follow me on my social media pages – Pinterest and Instagram or subscribe to my mailing list for other design inspiration, DIY projects, and home decor ideas.
Tamara White is the creator and founder of The Thrifty Apartment, a home decor and DIY blog that focuses on affordable and budget-friendly home decorating ideas and projects. Tamara documents her home improvement journey, love of thrifting, tips for space optimization, and creating beautiful spaces.
- Tamara White
- Tamara White
- Tamara White
- Tamara White
- Tamara White
- Tamara White
- Tamara White
- Tamara White
- Tamara White
- Tamara White
- Tamara White
- Tamara White
- Tamara White
- Tamara White
- Tamara White
- Tamara White
- Tamara White
- Tamara White
- Tamara White
- Tamara White
- Tamara White
- Tamara White
- Tamara White
- Tamara White
- Tamara White
- Tamara White
- Tamara White
- Tamara White
- Tamara White
- Tamara White
- Tamara White
- Tamara White
- Tamara White
- Tamara White
- Tamara White
- Tamara White
- Tamara White
- Tamara White
- Tamara White
- Tamara White
- Tamara White
- Tamara White
- Tamara White
- Tamara White
- Tamara White
- Tamara White
- Tamara White
- Tamara White
- Tamara White
- Tamara White
- Tamara White
- Tamara White
- Tamara White
- Tamara White
- Tamara White
- Tamara White
- Tamara White
- Tamara White
- Tamara White
- Tamara White
- Tamara White
- Tamara White
- Tamara White
- Tamara White
- Tamara White
- Tamara White
- Tamara White
- Tamara White
- Tamara White
- Tamara White
- Tamara White
- Tamara White
- Tamara White
- Tamara White
- Tamara White
- Tamara White
- Tamara White
- Tamara White
- Tamara White
- Tamara White
- Tamara White
- Tamara White
- Tamara White
- Tamara White
- Tamara White
- Tamara White
- Tamara White
- Tamara White
- Tamara White
- Tamara White
- Tamara White
- Tamara White
- Tamara White
- Tamara White
- Tamara White
- Tamara White
- Tamara White
- Tamara White
- Tamara White
- Tamara White
- Tamara White
- Tamara White
- Tamara White
- Tamara White
- Tamara White
- Tamara White
- Tamara White
- Tamara White
- Tamara White
- Tamara White
- Tamara White
- Tamara White
- Tamara White
- Tamara White
- Tamara White
- Tamara White
- Tamara White
- Tamara White
- Tamara White
- Tamara White
- Tamara White
- Tamara White
- Tamara White
- Tamara White
- Tamara White
- Tamara White
- Tamara White
- Tamara White
- Tamara White
- Tamara White
- Tamara White
- Tamara White
- Tamara White
- Tamara White
- Tamara White
- Tamara White
- Tamara White
- Tamara White
- Tamara White
- Tamara White
- Tamara White
- Tamara White
- Tamara White
- Tamara White
- Tamara White
- Tamara White
- Tamara White
- Tamara White
- Tamara White
- Tamara White
- Tamara White
- Tamara White
- Tamara White
- Tamara White
- Tamara White
- Tamara White
- Tamara White
- Tamara White
- Tamara White
- Tamara White
- Tamara White
- Tamara White
- Tamara White
- Tamara White
- Tamara White
- Tamara White
- Tamara White
- Tamara White
- Tamara White
- Tamara White
- Tamara White
- Tamara White
- Tamara White
- Tamara White
- Tamara White
- Tamara White
- Tamara White
- Tamara White
- Tamara White
- Tamara White
- Tamara White
- Tamara White
- Tamara White
- Tamara White
- Tamara White
- Tamara White
- Tamara White
- Tamara White
- Tamara White
- Tamara White
- Tamara White
- Tamara White
- Tamara White
- Tamara White
- Tamara White
- Tamara White
- Tamara White
- Tamara White
- Tamara White
- Tamara White
- Tamara White
- Tamara White
- Tamara White
- Tamara White
- Tamara White
- Tamara White
- Tamara White
- Tamara White
- Tamara White
- Tamara White
- Tamara White
- Tamara White
- Tamara White
- Tamara White
- Tamara White
- Tamara White
- Tamara White
- Tamara White
- Tamara White
- Tamara White
- Tamara White
- Tamara White
- Tamara White
- Tamara White
- Tamara White
- Tamara White
- Tamara White
- Tamara White
- Tamara White
- Tamara White
- Tamara White
- Tamara White