This post may contain affiliate links.
The kitchen faucet serves as an essential tool in our daily kitchen activities. It’s a practical necessity for cooking, cleaning, and preparing meals. Additionally, it plays a role in defining the overall style and personality of the kitchen.
After purchasing our home, my husband and I embarked on a journey to make subtle improvements that would reflect our personal preferences. Among the various tasks on our list, there was one that stood out—the replacement of our outdated kitchen faucet. The faucet had seen better days, showing signs of wear and tear.
If you are in a similar position and need to update your kitchen faucet, I’ll walk you through the process so you can confidently tackle it. By following these straightforward steps, you can complete the replacement in less than an hour, saving time and money.

This post may contain affiliate links, which means I will earn a small commission if you purchase through my link. Please see the full disclosure and privacy policy for more information.
Kitchen Faucet Before Replacement
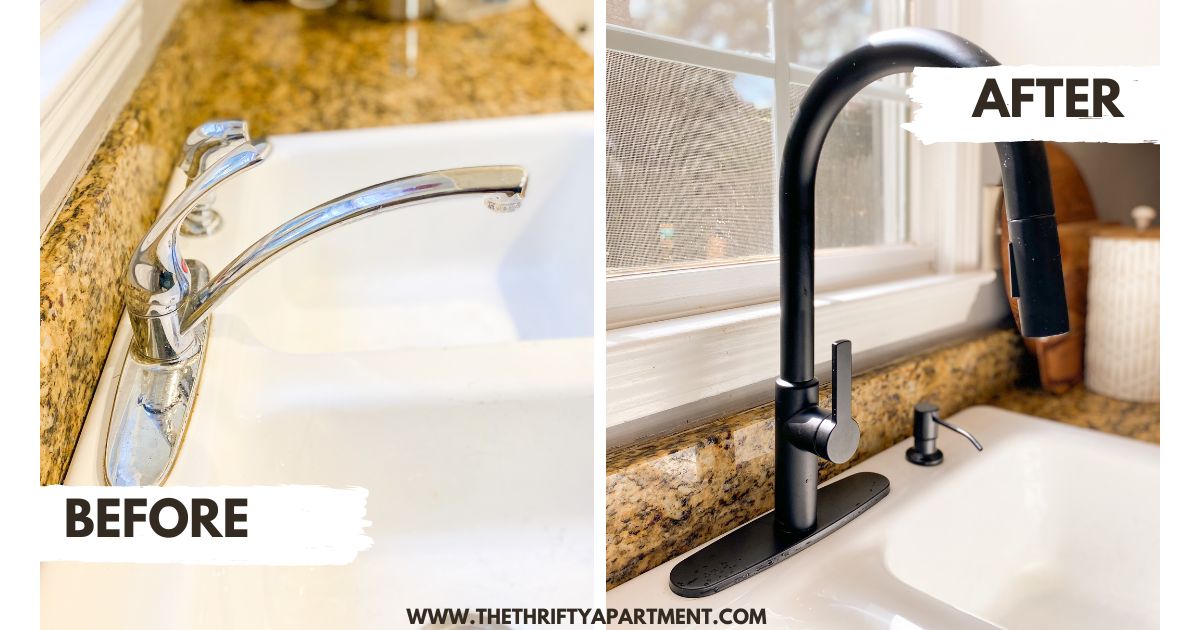
The kitchen faucet takes on the role of a true workhorse in any home. It’s only right for its functionality and appearance to reflect its important role. The existing faucet in our kitchen has severe wear and tear, and it stood out like a sore thumb, failing to blend with our kitchen’s overall look and feel.
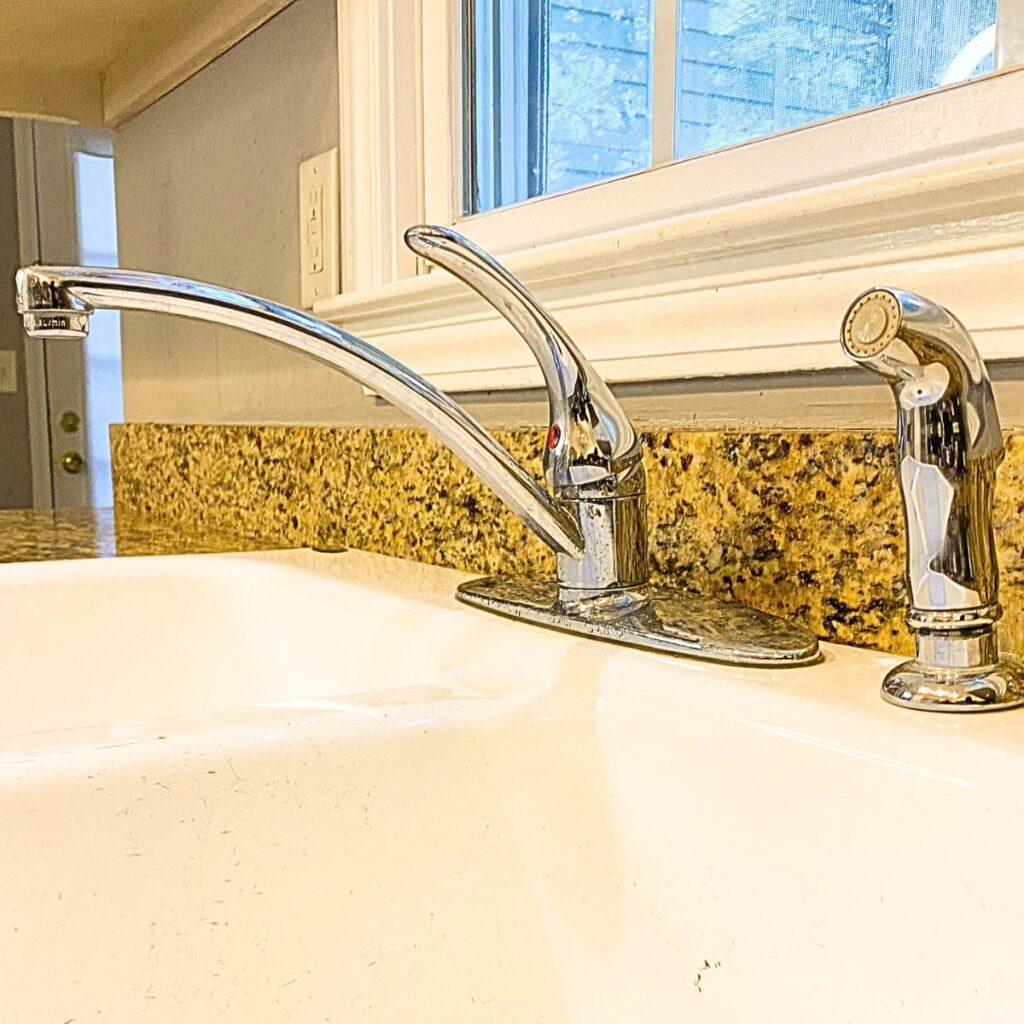
Our existing kitchen had a combination of white cabinets and granite countertops decorated with matte black cabinet handles interwoven with hints of black and brown. However, the chrome-finished faucet and a somewhat lackluster separate sprayer did not fit well into this space. We needed an upgrade. And we needed it badly.
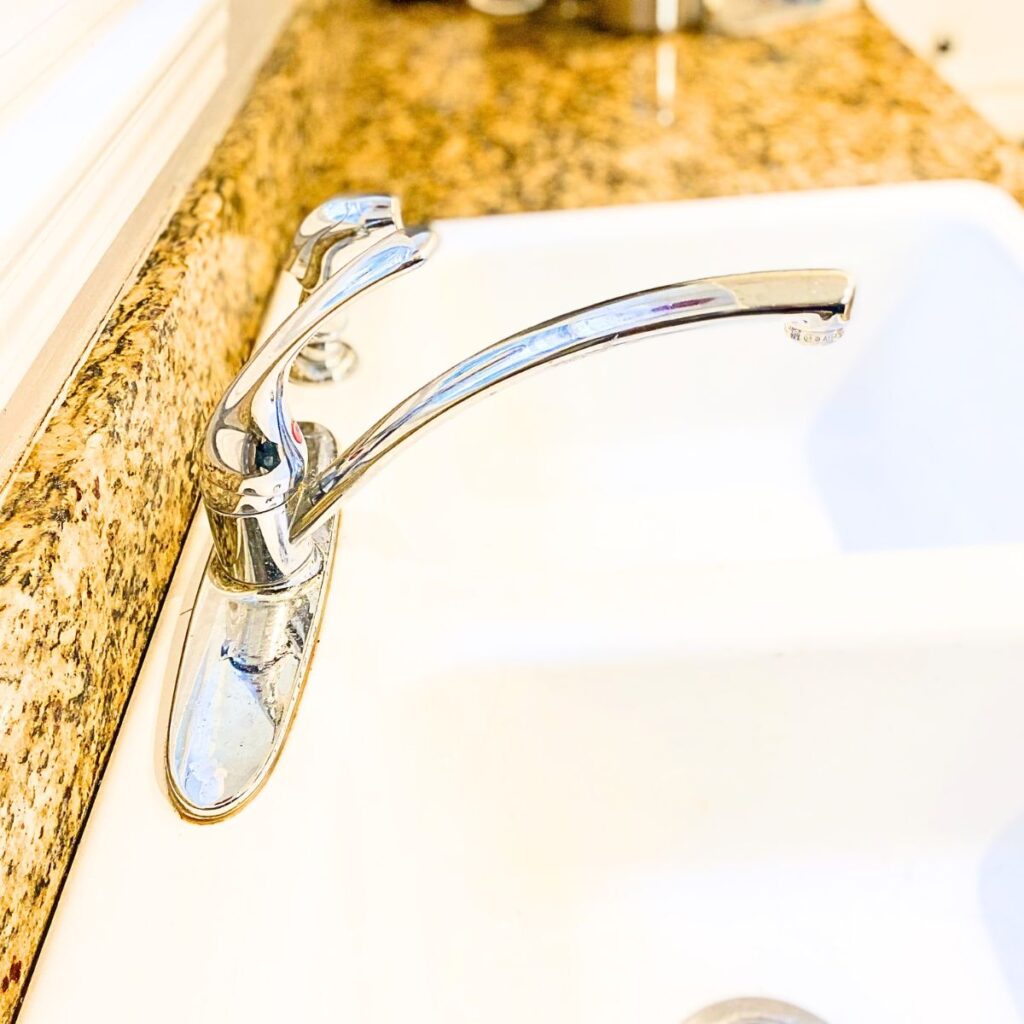
The idea of replacing our aged kitchen faucet felt a bit overwhelming at first. However, the appeal of a new faucet easily overshadowed our apprehension. Moreover, the cost of hiring a licensed plumber was a bit beyond our budget. Thus, as we gradually researched the required tools and installation process, a newfound sense of confidence emerged.
How To Install Kitchen Sink Faucet
Supplies Needed
- Kitchen Faucet – I used this Kraus Pull-Down Kitchen Faucet
- Adjustable Wrench
- Pliers – I used the 8-piece Irwin Vise-Grip GrooveLock Pliers Set. It is my go-to for most home DIY projects.
- Phillips Screwdriver
- Teflon Tape or Pipe Tape
- Deck Plate or Escutcheon plate
- Flashlight
- Plumber’s Putty
Most of these supplies can also be found at your local home improvement store or hardware store.
Step 1: Clear the countertop and underneath the kitchen sink.
The first step is to clear the countertop and the area beneath the kitchen sink. This ensures a tidy workspace both above and below the counter.
This approach tends to simplify the process and prevent any inadvertent mishaps during the installation, such as inadvertently getting items wet or causing damage.
The next step is to get all the tools and parts together. The last thing you want to do is start the project only to find out that pieces are missing, and then you are left without a kitchen sink until you can get all the supplies together. You can typically check the installation guide of the particular faucet, which will have a diagram and parts list.
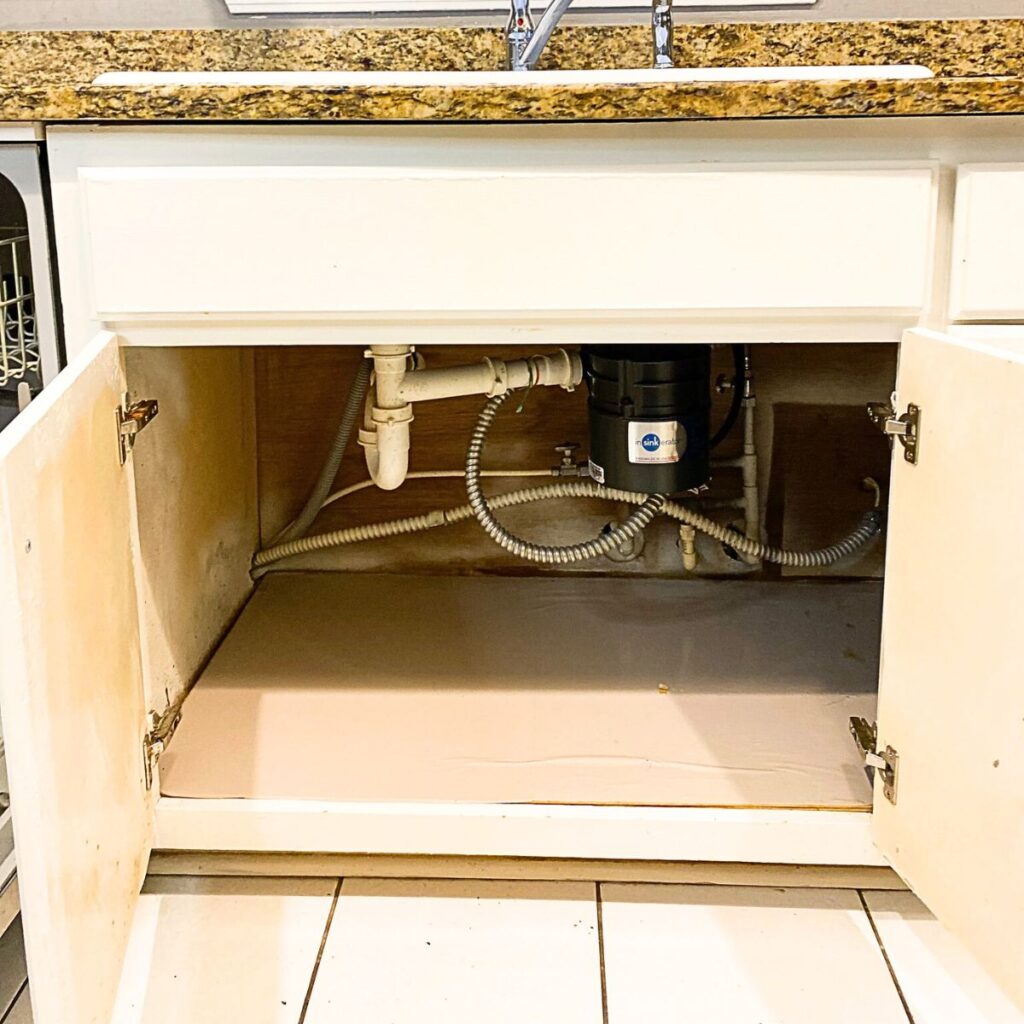
Step 3: Turn off the hot water and cold water line
Now, it’s time to shut off the water supply lines. This is an important step. Close off the water supply valves located beneath the kitchen sink. There will be a fair amount of maneuvering beneath the kitchen sink. Turning off these valves effectively halts the water flow in preparation for the faucet removal process.
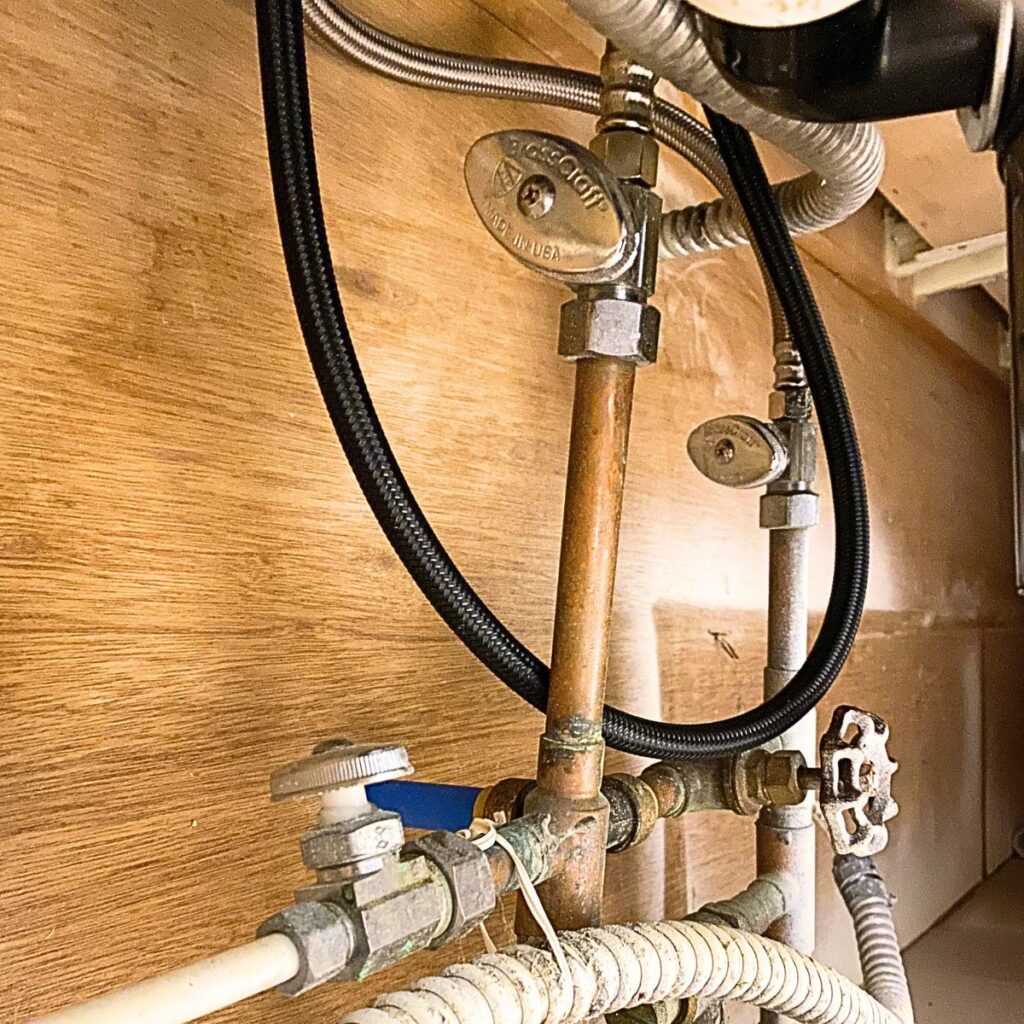
Step 4: Remove the old faucet
Your next move involves unscrewing these nuts using a wrench. Each water supply line, both hot and cold, is affixed to a valve via a threaded nut. Use a flashlight or the light from your cell phone to aid you in navigating this confined space.
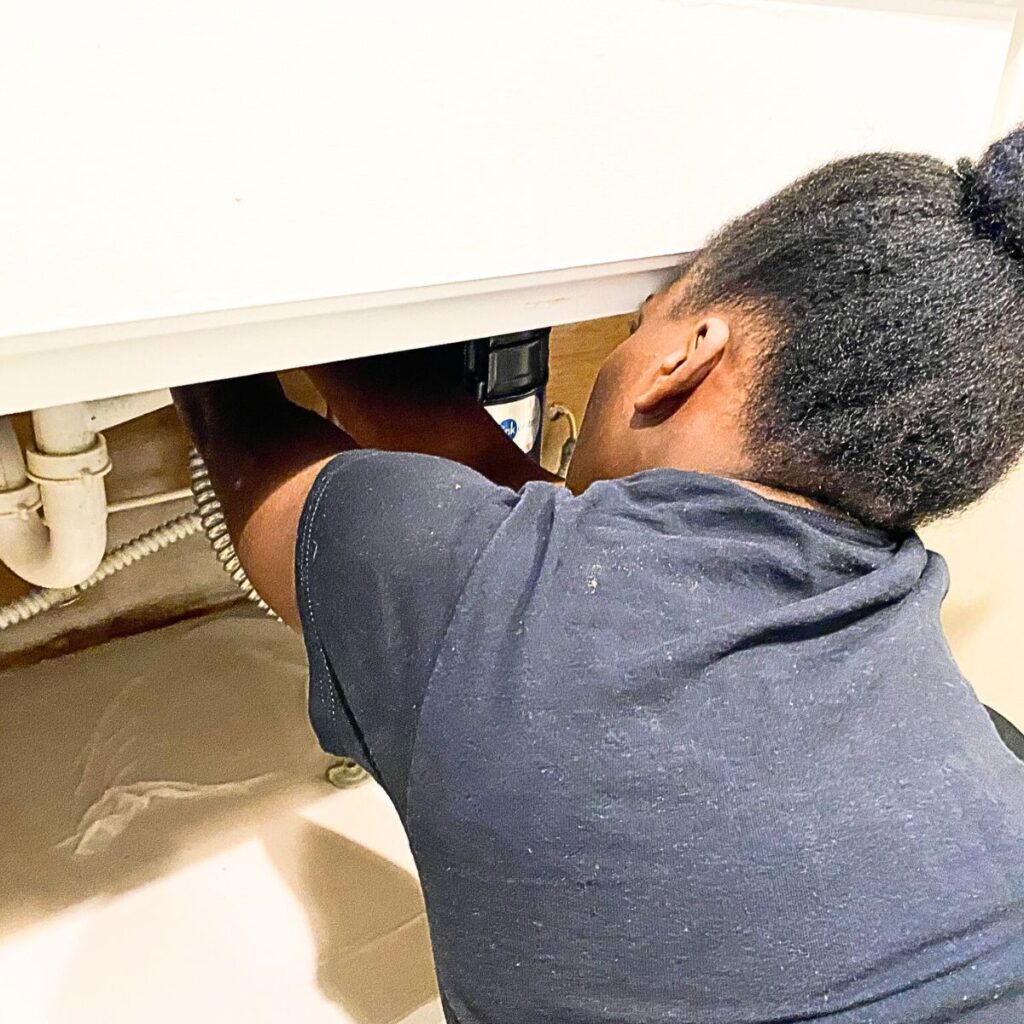
Proceed to disconnect the water supply lines and detach the aged supply line connections linked to the faucet. Once completed, you can then extract the faucet itself.
When removing the old faucet you might see some residual water spilling out.

Step 5: Clean the area surrounding the sinkholes
It’s essential to address the area where the previous faucet was situated. You’ll probably encounter a significant amount of debris and grime that will require cleaning.
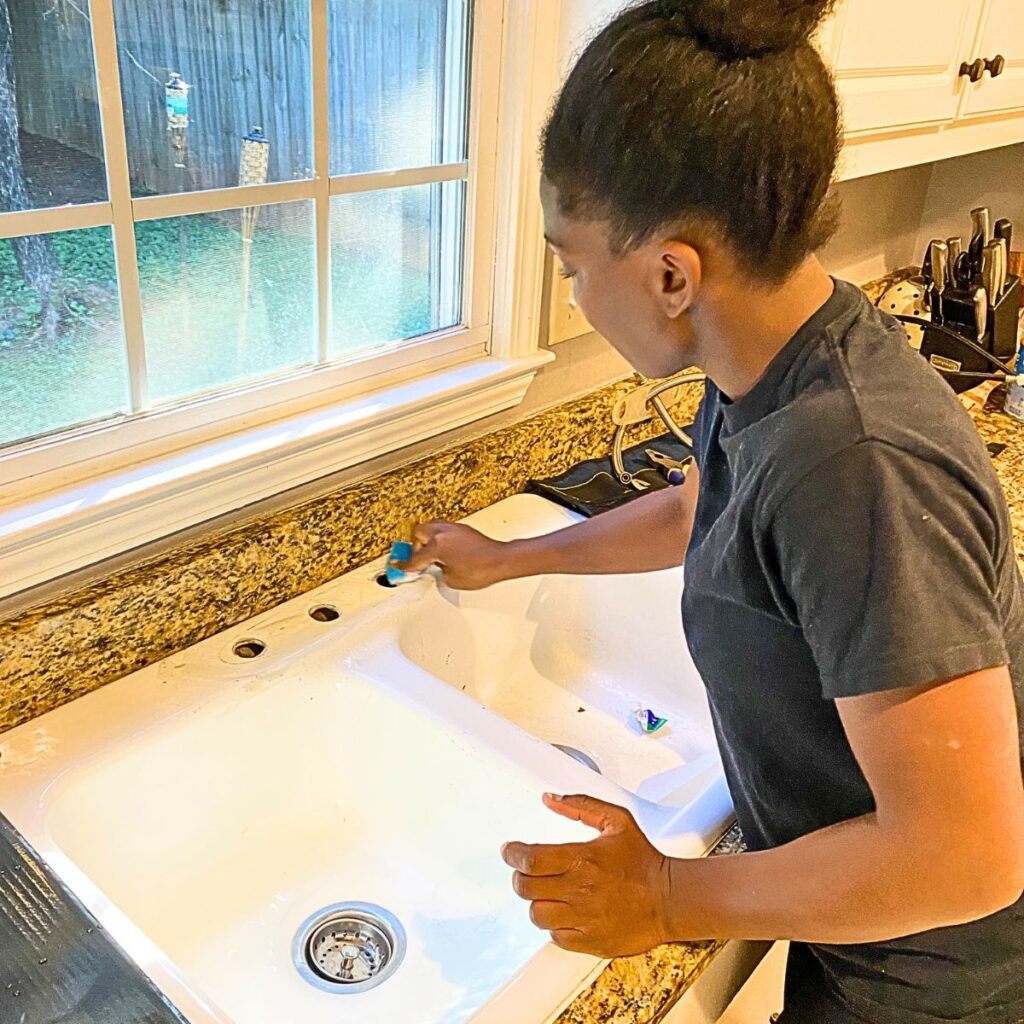
Step 6: Install the new faucet
Lay the deck plate over the openings, ensuring a watertight seal. Often, you’ll find it necessary to apply caulk or use a plumber’s putty to achieve this.
Next, position the new faucet through the countertop hole. After it’s in place, venture beneath the counter to secure the faucet. Use the rubber washer, metal washer, and provided mounting nut, and finish off by tightening the screw.
Pro Tip: Don’t forget to consult the manufacturer’s guidelines for added assurance. There might be minor deviations based on the type of faucet and hole configuration you have. However, for the most part, the process remains fairly consistent.
Step 7: Connect the water lines
Secure a reliable grip by wrapping a small piece of Teflon plumber’s tape around the valve. Afterward, fasten the waterlines to the valves, tightening them until comfortably snug.
Turn on the cold and hot water lines, observing closely for any signs of leaks or water seepage. This precautionary measure ensures the absence of a potentially bothersome leak in your faucet.
Step 8: Install the weight clip
Attach the weight clip to the sprayer hose’s underside, just beneath the kitchen faucet underneath the sink. The weighted clip plays a vital role in maintaining the sprayer hose’s position within the faucet.
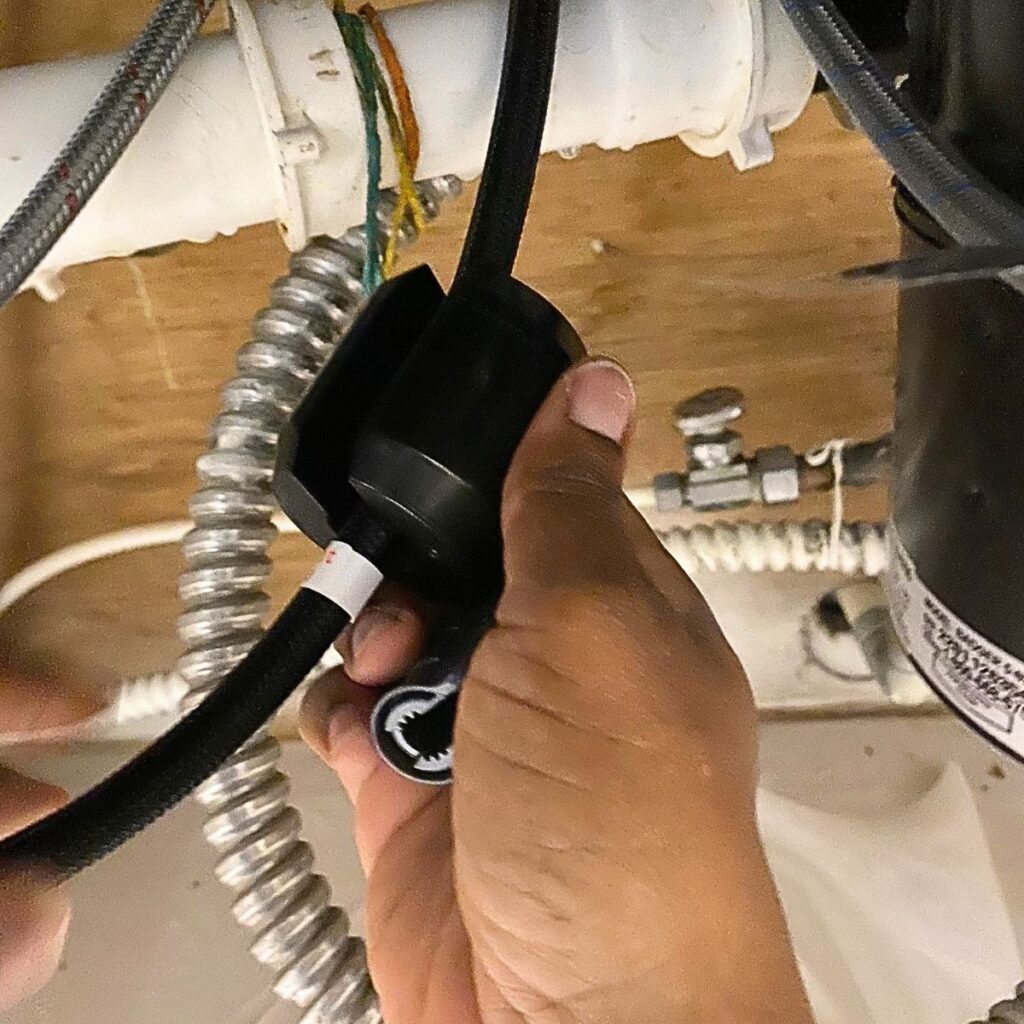
Step 9. Flush out the new faucet
Let the water flow and flush the water lines for about a minute. This flushes away any debris that could cause damage or compromise the internal parts.

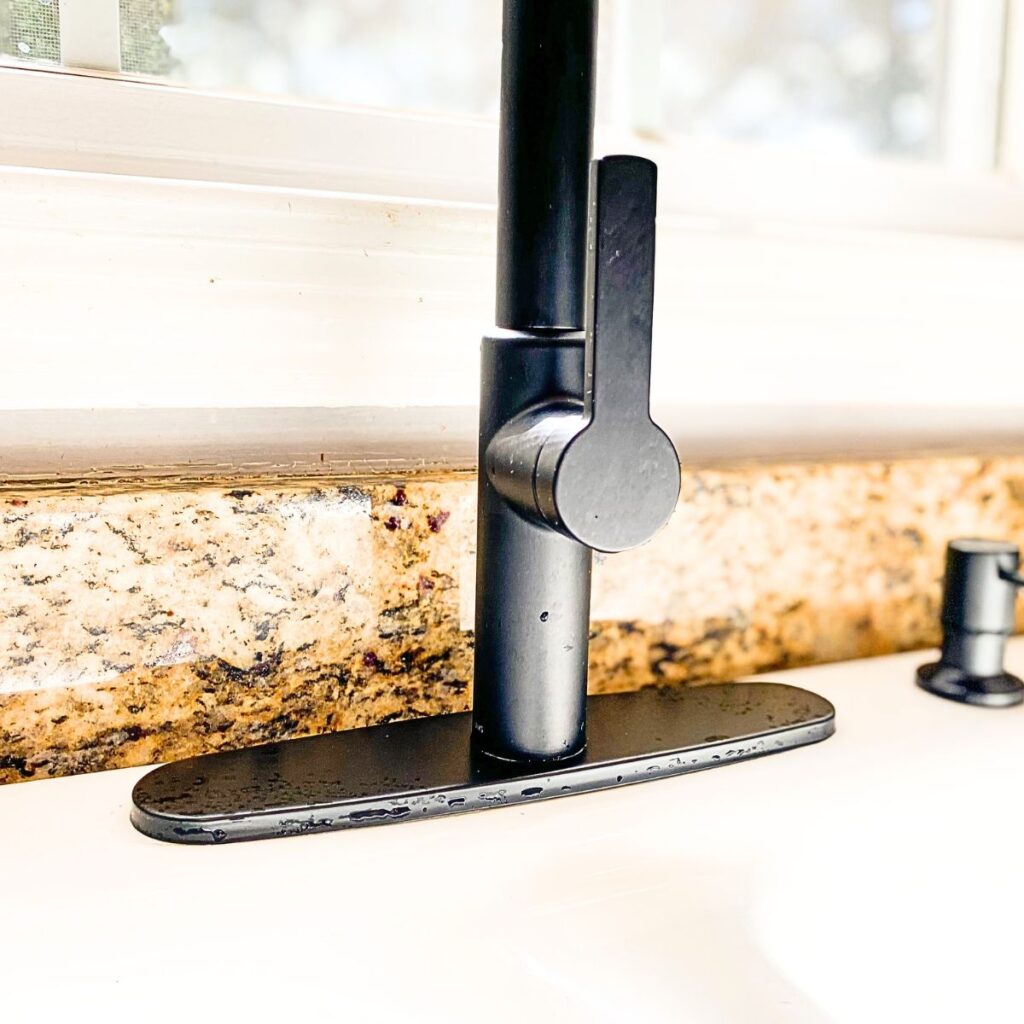
How to Choose Your Faucet?
When choosing a new kitchen sink faucet, start with a list of must-haves. Considering the vast array of faucet options available, it’s important to find something that fits your needs. Here are a few things to consider that will aid you in your decision-making process:
Brand – Traditionally, renowned brands like Kohler, Moen, and American Standard have held sway in kitchen faucet choices. However, the market has since diversified, presenting an array of well-crafted, user-friendly alternatives. Look through reviews to gauge product quality.
Finish or Color – Your choice of color hinges on hardware compatibility, spatial aesthetics, and personal preference. In our case, we opted for a Matte Black kitchen faucet, which aligns seamlessly with our existing hardware.
Style – Adjusting your faucet style with your culinary habits and cleaning routine is pivotal. You can explore single-handle vs. two-handle faucets, pull-out vs. pull-down options, or even touchless models. We choose a faucet with an integrated sprayer, designed to access challenging nooks and crannies within the sink. I also needed it to have the ability to fill up a bucket without it being in the sink.
Sink Compatibility – Prior to making a selection, ensure compatibility with your current sink setup. Examine the sink’s underbelly to determine the number of holes present – this will range from one to four holes. Opting for a replacement faucet with the same hole configuration streamlines installation. A three-hole faucet typically features separate hot and cold handles, while a one-hole faucet integrates both functions through a single handle.
Ultimately, your faucet choice should align with your functional needs and aesthetic preferences, paving the way for a seamless installation process.
Other posts you might like:
I hope you found this helpful. To complete this installation, you don’t have to be an experienced DIYer or plumber.
Tamara White is the creator and founder of The Thrifty Apartment, a home decor and DIY blog that focuses on affordable and budget-friendly home decorating ideas and projects. Tamara documents her home improvement journey, love of thrifting, tips for space optimization, and creating beautiful spaces.

