This post may contain affiliate links.
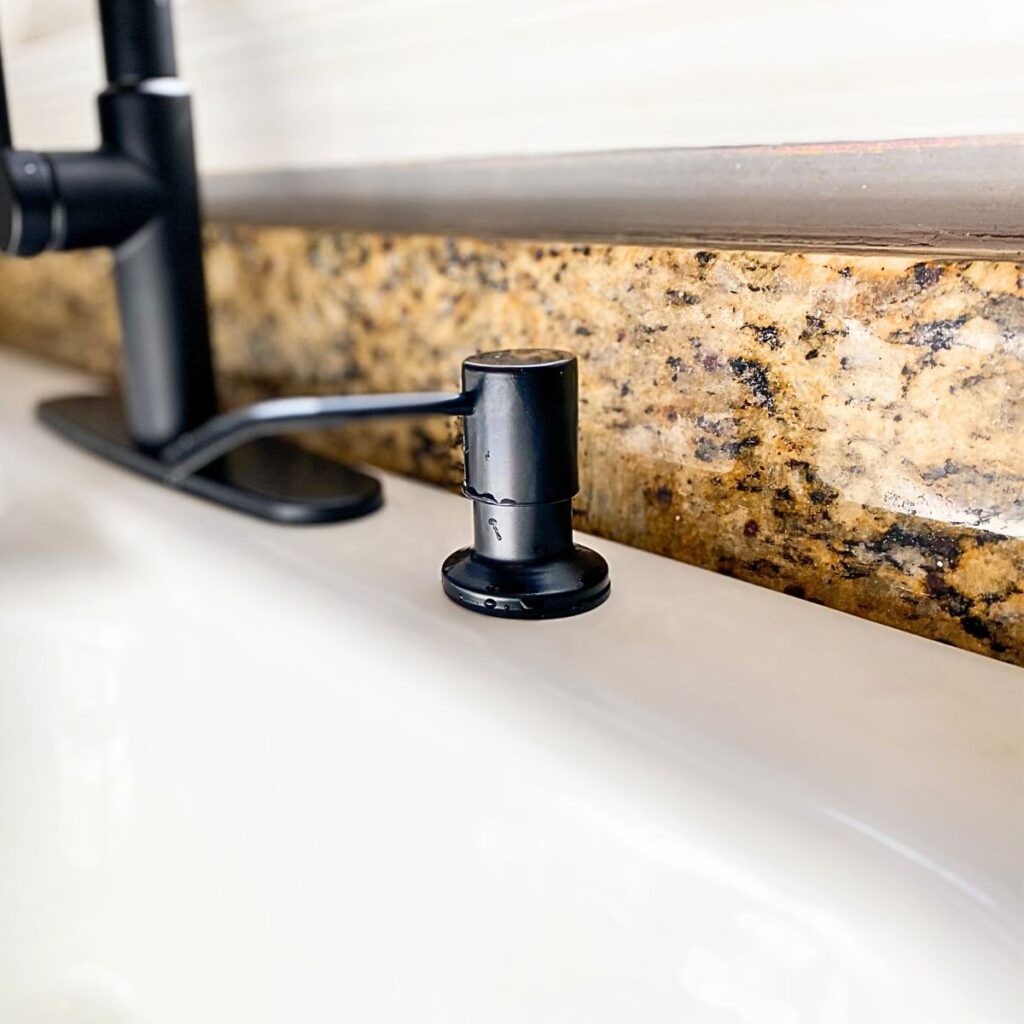
Incorporating a built-in soap dispenser into your kitchen setup brings a touch of refinement and functionality to your countertop space. The integration of this dispenser serves to declutter your countertop, contributing to an overall cleaner and more well-organized appearance around your sink. Beyond its aesthetic benefits, its user-friendly design ensures a seamless kitchen experience with hassle-free refills.
Installing a soap dispenser in the kitchen sink involves a straightforward and speedy DIY project, particularly if your kitchen sink has an additional pre-designed aperture.
That said, it’s time to let go of the slippery soap bottle and messy countertop space and embrace a built-in soap dispenser. Come along as I share this simple and easy step-by-step guide on how to install a soap dispenser.
This post may contain affiliate links, which means I will earn a small commission if you purchase through my link. Please see the full disclosure and privacy policy for more information.
Why a Built-in Soap Dispenser?
Our kitchens serve as the hub of daily activities – from cooking and cleaning to preparing meals for our loved ones. With this in mind, enhancing its functionality becomes a logical step towards easing our routines. A soap dispenser is a practical addition that shouldn’t be overlooked, particularly due to its utility. Not only does it replace less appealing plastic soap bottles, but it also offers a touch of refinement.
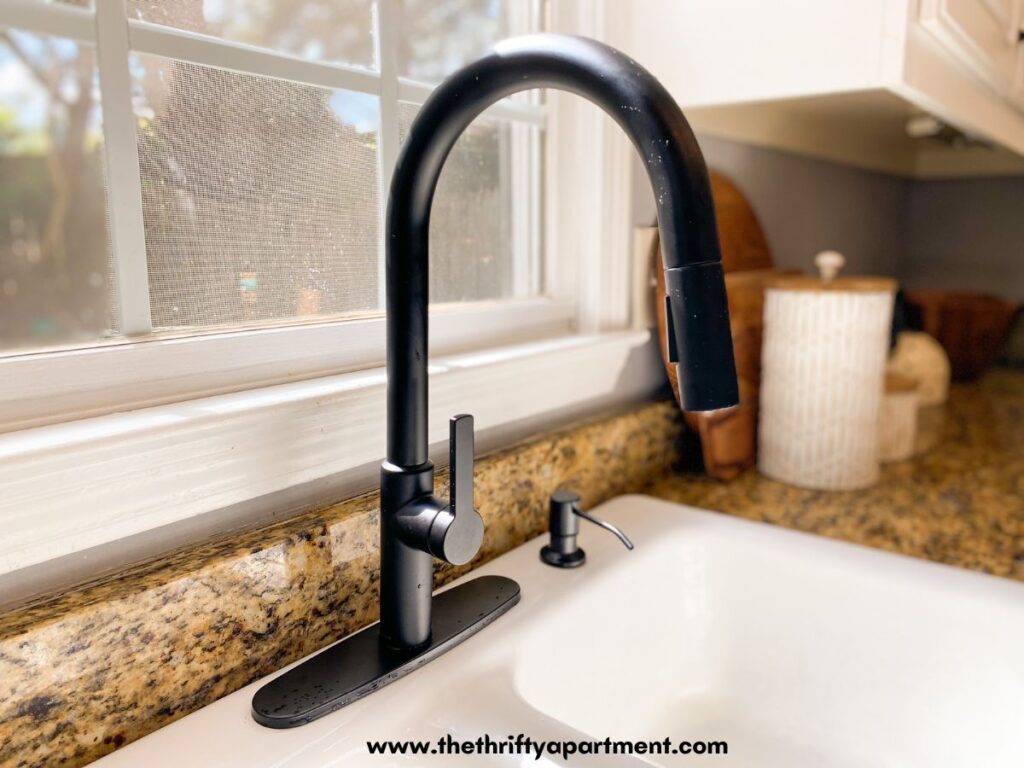
Combined with a modern faucet, a built-in soap dispenser brings an air of organization and aesthetics to your kitchen. It also presents an environmentally conscious choice, eliminating the need for separate plastic soap containers. This switch might also translate into time and cost savings.
In our own experience, my husband and I chose a built-in soap dispenser for our kitchen sink, driven by its convenience and practicality. Our previous standalone dispenser often required constant refilling and maintenance. The recent installation of a new kitchen sink faucet was the catalyst for this decision, as we sought a harmonious addition that fulfilled both functional and visual aspects of our kitchen.
Step-by-Step Installation Guide
Supplies Needed
- Soap Dispenser Kit – I chose a matte black color because it matched the new faucet (also in matte black) and the cabinet knobs.
- Dish Soap – I prefer dawn dish soap.
- Adjustable wrench and pliers – I used the 8-piece Irwin Vise-Grip GrooveLock Pliers Set. It is my go-to for most home DIY projects.
- Optional – Deck Plate or Escutcheon plate
Before proceeding, it’s important to verify if your sink can accommodate this type of installation. If there’s already an existing sinkhole, you’re in good shape. However, if your sink doesn’t have a hole, you’ll need to drill one. Fortunately, many kitchen sinks have between one and four extra pre-drilled holes, so this likely won’t be a major issue. Make sure to inspect for the possibility of an unnoticed hole that might be concealed by a Deck Plate or Escutcheon plate.
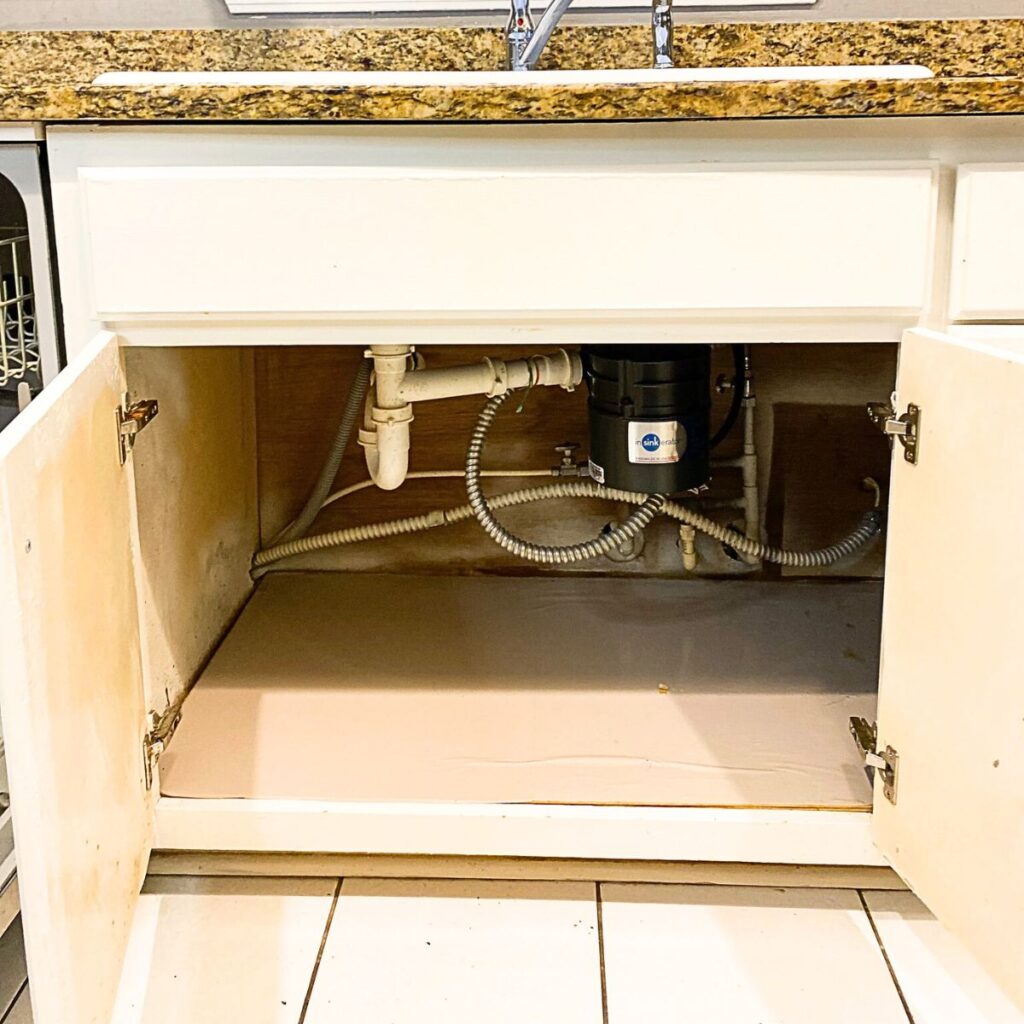
Step 1: Remove items underneath the kitchen sink
Remove all items from the countertop and underneath the kitchen sink. You want to have a clean surface above and below the countertop. I find that it’s much easier to work this way.
Step 2: Gather tools and check for all parts
The next step is to gather all the tools and manufacturer parts. The last thing you want to do is start the project only to discover missing pieces.
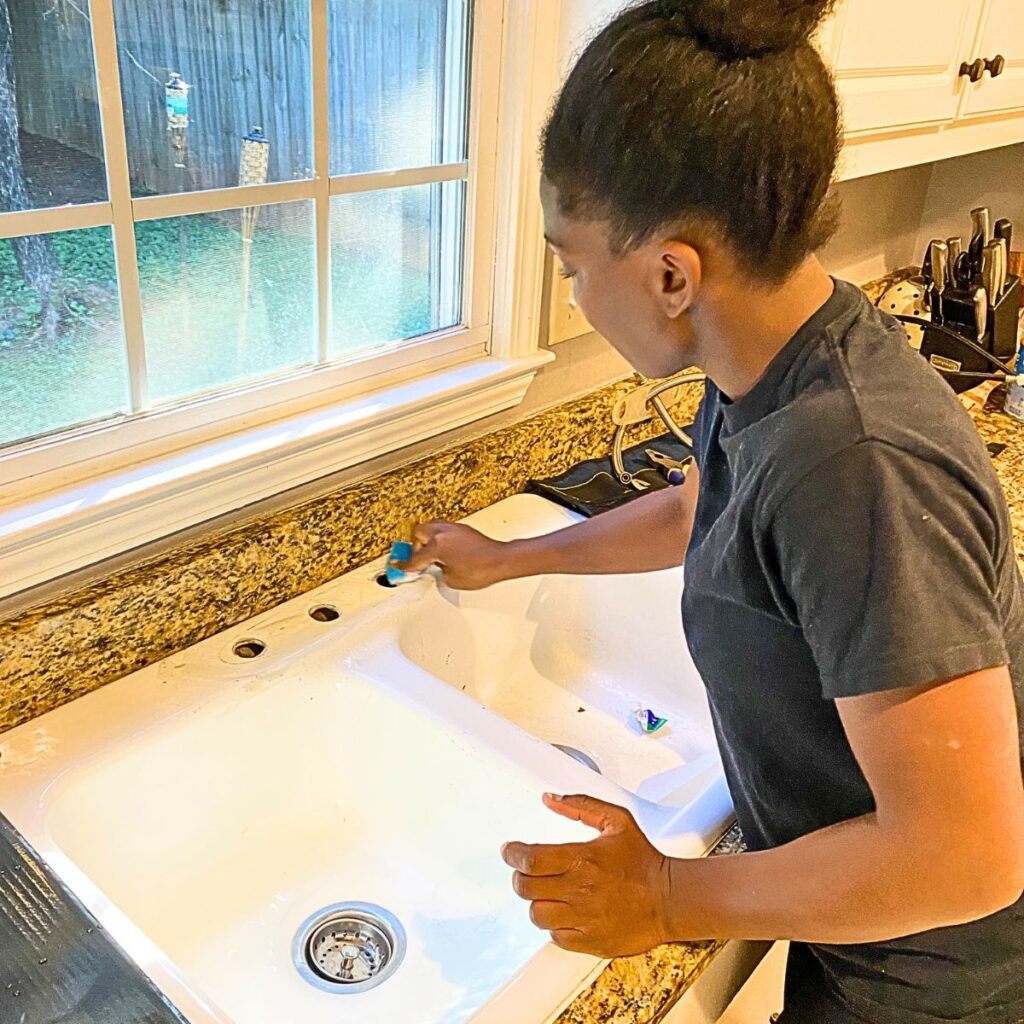
Step 3: Remove the deck plate or hole cover
Remove the existing kitchen sink hole cover and deck plate and clean the area. You a sponge or cloth and wipe around the holes.
Step 3: Install the new dispenser
Place the dispenser pump head base over the sinkhole on the countertop. Head underneath the kitchen sink and take the mounting nut with the rubber component, and tighten it against the dispenser pump.
Before fully tightening, take a moment to verify the alignment of the soap dispenser on the sink’s surface. Utilize a pair of pliers or a basin wrench to apply slightly more pressure than hand-tightening.
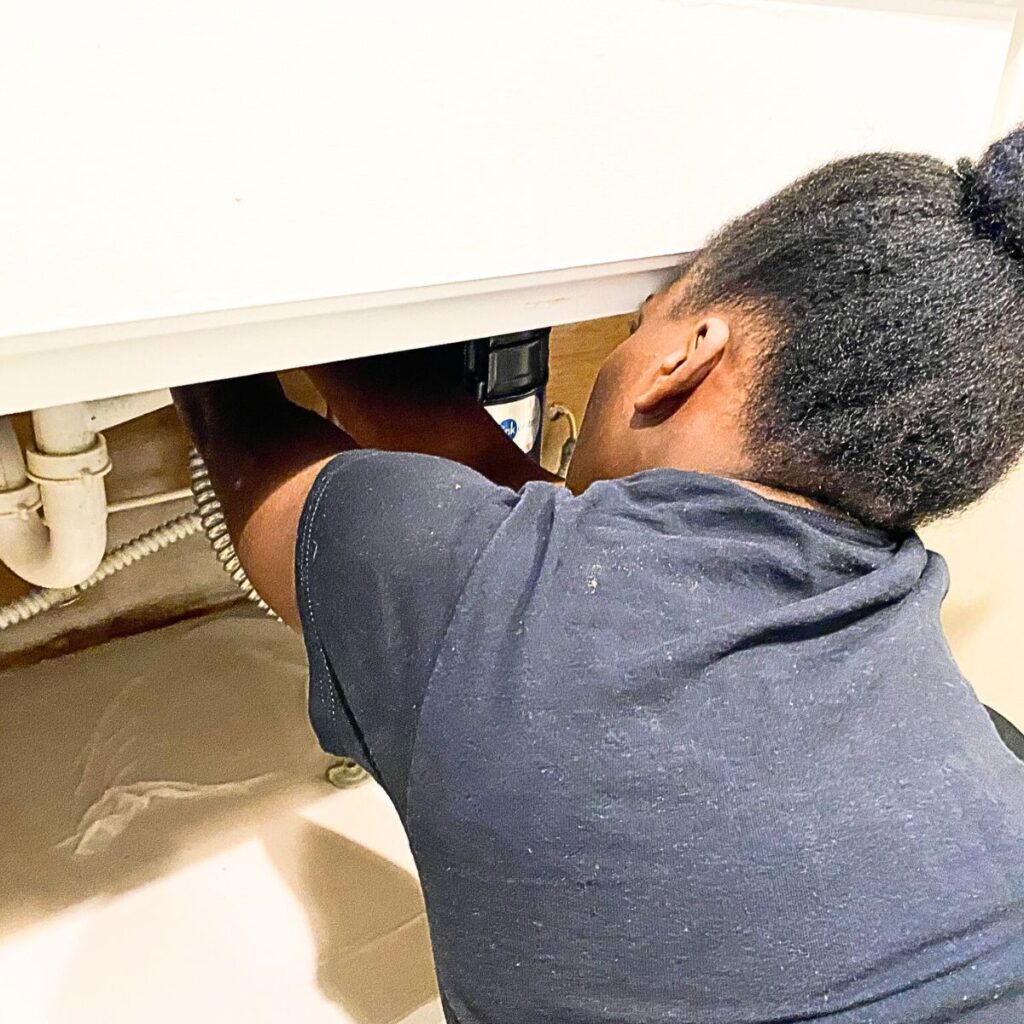
Step 4: Attach the pump tube
Attach the pump tube (long straw) to the base of the pump and the soap bottle underneath the sink. This attachment will ensure the soap gets pulled from the dispenser bottle.
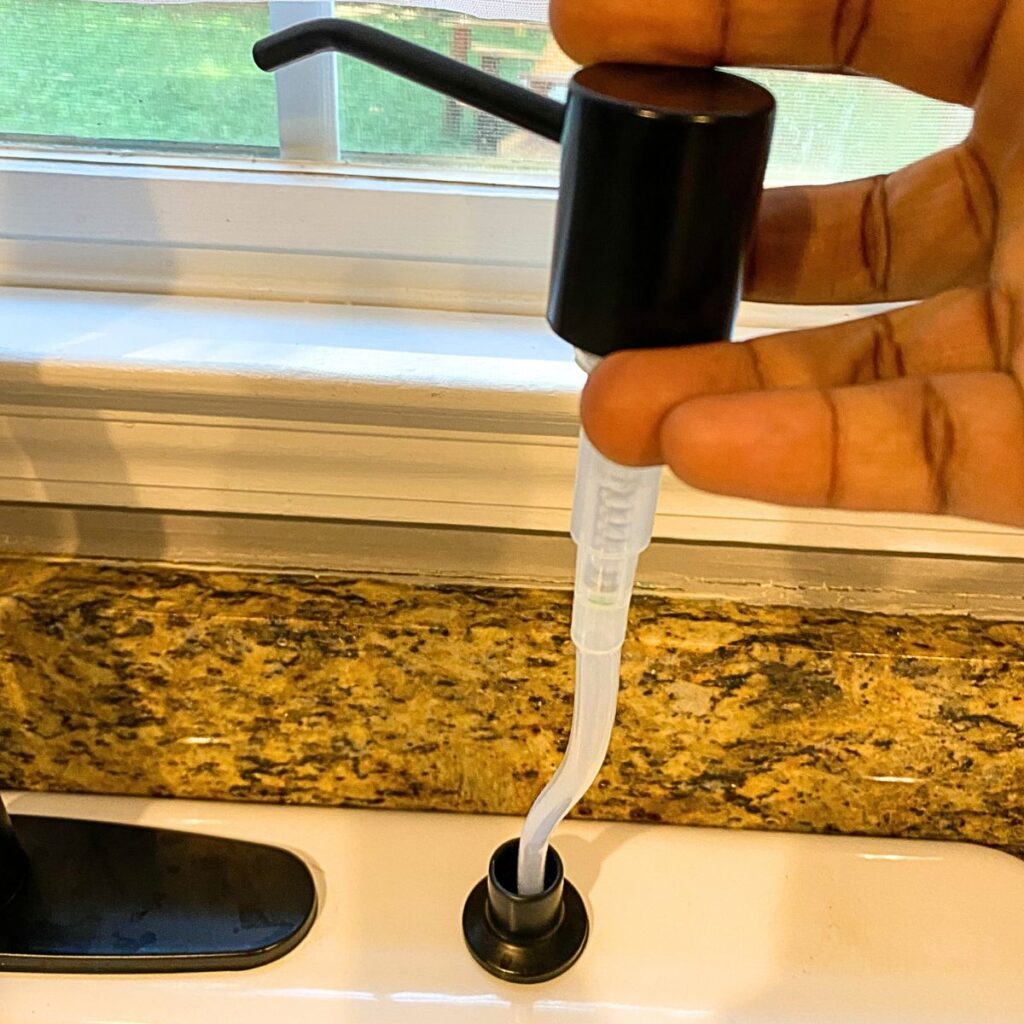
Step 5: Fill up the soap dispenser
Fill up the soap from the top part of the dispenser. If you have a bottom-fill soap dispenser, you must go under the sink to fill it up. Once done, pump the dispenser several times until the liquid detergent comes out and the soap is evenly distributed.
Pro Tip – The manufacturer’s bottle usually comes in an average 10-16oz bottle. For some people, this small bottle will still need to be refilled often. What I do instead is buy a separate hose or extension tube that connects directly to a big bulk bottle of dishwashing liquid instead of utilizing the manufacturer’s bottle. This will last several months without the need to refill the soap continuously.
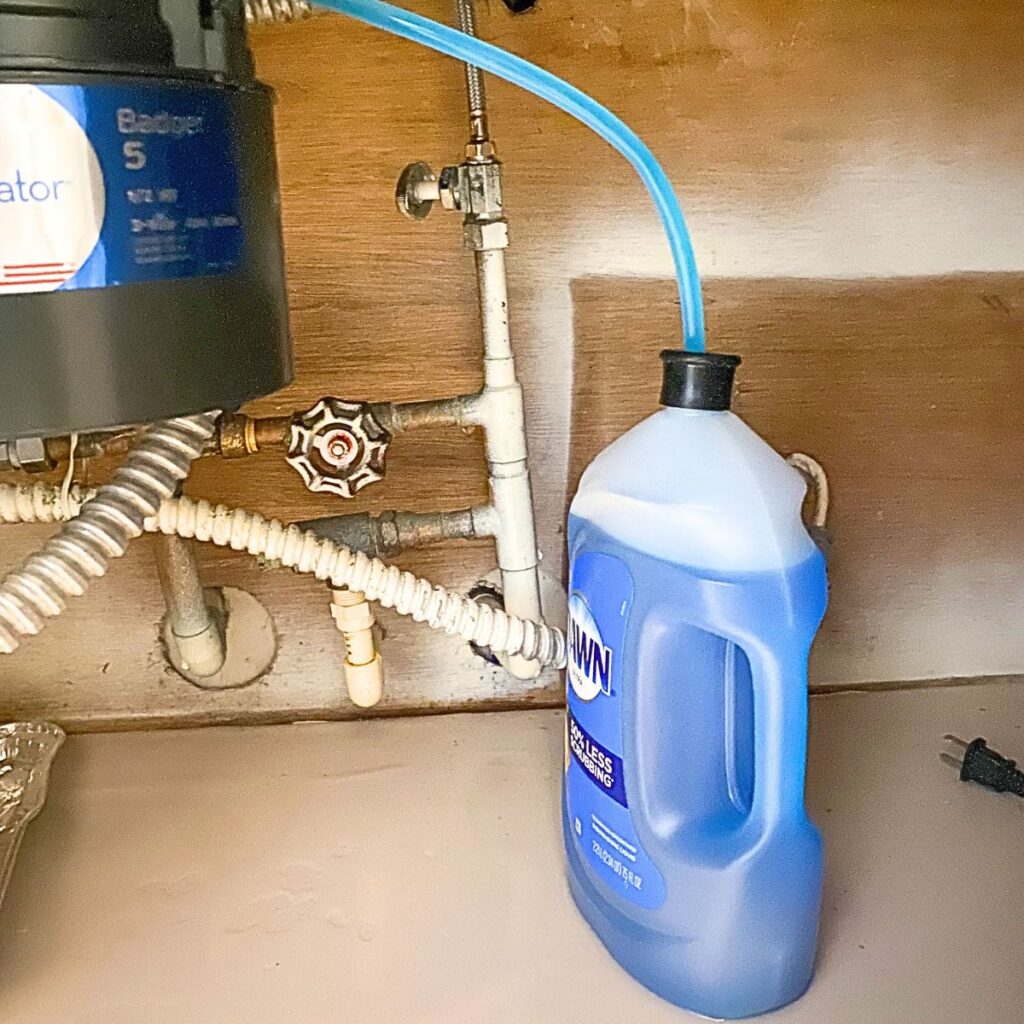
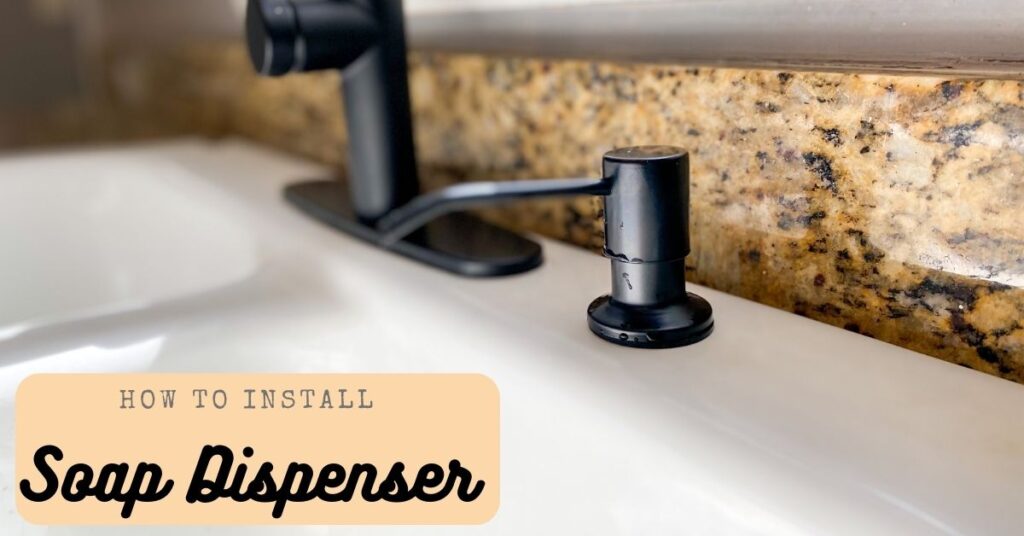
Now that you have completed the installation process, you can finally put away the old bottle of soap on top of the counter and enjoy your integrated soap dispenser. A pump dispenser will make your kitchen more functional and easy to use.
Other posts you might like:
Please leave a comment below to let me know what you think. Feel free also to follow me on my social media pages – Pinterest and Instagram or subscribe to my mailing list for other design inspiration and home decor ideas.
Tamara White is the creator and founder of The Thrifty Apartment, a home decor and DIY blog that focuses on affordable and budget-friendly home decorating ideas and projects. Tamara documents her home improvement journey, love of thrifting, tips for space optimization, and creating beautiful spaces.





I love this! Great idea! I haven’t thought of a built-in soap dispenser before, but now I want to have one too to avoid the clutter that ours make in the sink. Will put it in my to do list. Thank you for the detailed guide.