

The front door of your home is the first thing visitors see, so it’s important to keep it looking its best. However, the paint on your door can fade, chip, or peel over time, which can detract from the appearance of your home.
If you’re looking for a simple and cost-effective way to spruce up your home’s exterior, consider painting your front door. While it’s typically recommended to remove the door before painting, removing the door can be a time-consuming and complex process.
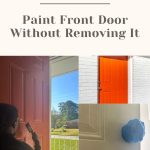
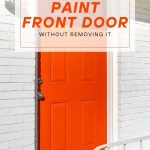
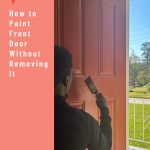
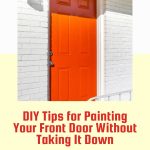
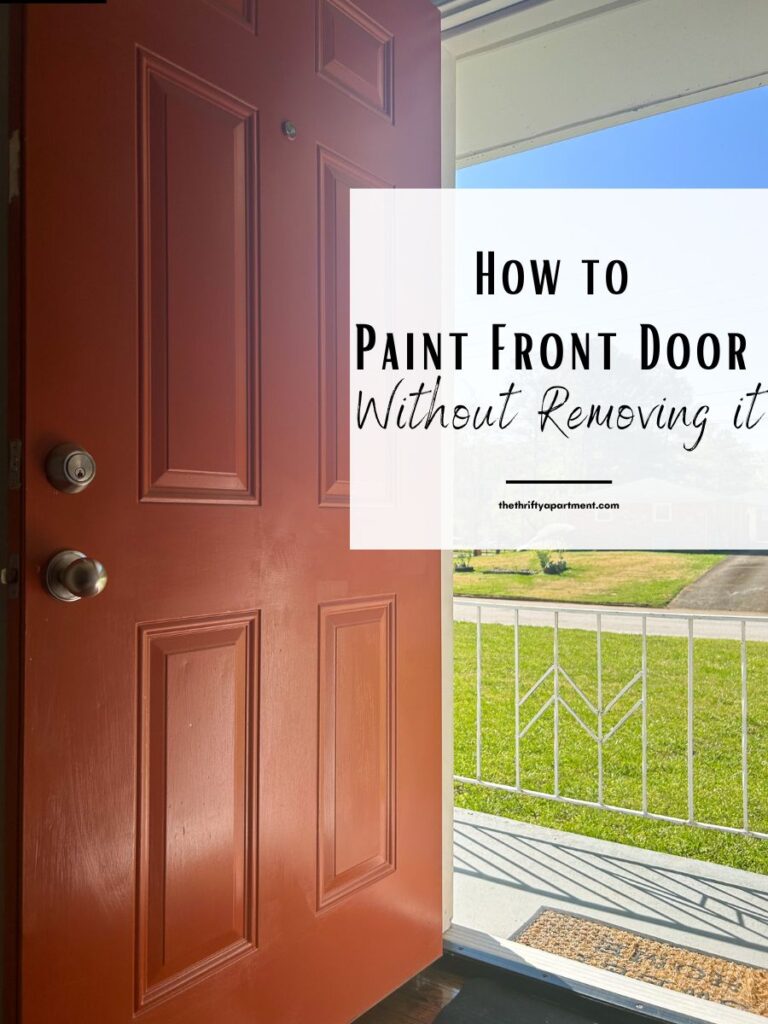
The good news is that you can still achieve a fresh new look without taking the door off its hinges. With this helpful guide, you’ll learn how to paint your front door while it’s still attached, resulting in a bold and beautiful finish that will elevate your home’s curb appeal.
This post may contain affiliate links, which means I will earn a small commission if you purchase through my link. Please see the full disclosure and privacy policy for more information.

Materials and Supplies Needed:
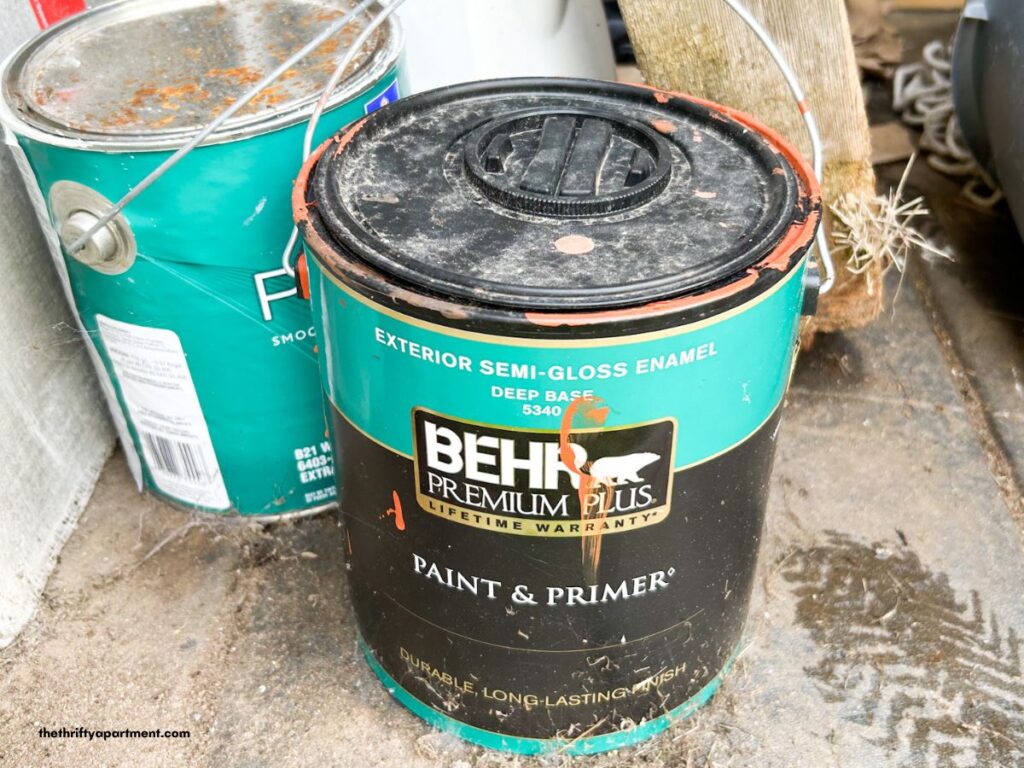
- Exterior door paint – I used an all-in-one paint and primer called Behr – Fireglow
- Paint brush and Paint Roller
- Paint tray
- Painter’s tape
- Sandpaper or sanding sponge
- Paint primer (if your paint does not include primer)
Before you get started, make sure you have all the necessary supplies. You can pick up these supplies from the local paint store, hardware store, or online.
Choose a high-quality front door paint color specifically designed for exterior doors. You may also want to consider a primer if your door has never been painted or if you’re changing the color significantly. Once you have the materials and supplies you need, you’re ready to get started.
Step-by-step Tutorial
Step 1: Clean the Door
The first step is to clean the door thoroughly. Use a damp cloth with warm water and soap to remove any dirt, grime, or debris that may be stuck to the door. You can also use a damp rag with all purpose cleaner for more built on grime. Dry the whole door with a clean cloth, making sure there is no moisture left on the surface.
Step 2: Prep the Door

Before you start painting, you’ll need to prepare the door. Cover the door knobs or door handles, hinges, and any windows or decorative elements on the door with painter’s tape. Use painter’s tape to mask off these areas carefully, pressing the tape down firmly to prevent paint from seeping through.
This will make it much simpler to paint the door and ensure your finished product looks neat and professional.
Step 3: Sand the Door
Remove any loose or peeling paint by lightly sanding the surface. Use fine-grit sandpaper or a sanding sponge for sanding the old paint on the door’s surface lightly. This will create a rough texture to help the primer and paint adhere better. Be careful not to sand too hard, as you do not want to damage the door’s surface.
Step 4: Protect the Surrounding Area
Next, you’ll need to protect the area around the door. Cover the ground with a drop cloth or an old sheet to catch any paint drips or spills. You should also cover any nearby walls, trim, or floors with plastic sheeting or newspaper to prevent accidental splatters.
Step 5: Apply the Primer
Once you have taped off any areas you don’t want to be painted, it’s time to apply the primer. Primer is important because it helps the paint adhere to the surface and provides a smooth base for the paint to go on.
Apply a coat of primer to the door using a paintbrush or small foam roller. The primer will help the paint adhere to the door’s surface, and it will also cover any imperfections or stains on the door. Allow the primer to dry completely before moving on to the next step. Follow the manufacturer’s instructions for drying time before moving on to the next step.
Step 6: Time to Paint the Door

After the primer has dried completely, it’s time to apply the paint. Use a paintbrush or roller to apply the first coat of paint in thin, even coats. Apply the fresh coat of paint starting from the top of the door and working your way down to the bottom of the door. Let it dry, and then apply a second coat of paint.
Depending on the color and type of paint you are using, you may need to apply a third coat to achieve the desired look. Be sure to let each coat dry completely before applying the next one.
Step 7: Remove the Tape
Once the paint has dried, remove the painter’s tape from the door handle, hinges, and other areas you masked off. This will reveal a neat and precise paint job. Your freshly painted front door is now ready to impress your guests – with a bright, bold new look.

Tips for Success:
- Choose a high-quality paint and primer to ensure long-lasting results.
- Consider using a glossy or semi-glossy finish for the front of the door, as it will provide better protection against the elements, make your door stand out, and appear like a professional paint job.
- If you’re painting a door with windows, use a razor blade or scraper to remove any paint that gets on the glass while it’s still wet.
- Be patient and allow each coat of paint and primer to dry completely before applying the next one.
Should I paint the back of the door?
Painting behind the front door is ultimately a personal preference. It is a good idea to paint the interior door to create a more cohesive look. Painting the back of your front door can add a pop of color or design element to your home’s interior.
However, if you’re on a budget or short on time, you can get away with only painting the side that faces the outside.
How long do you wait between coats?
Drying time may vary by the type of paint. However, it is recommended to wait for at least 2-4 hours between coats of paint on a front door. It is also important to make sure the first coat is completely dry before applying the second coat.
What type of paint should I use?
It is important that you use high-quality exterior paint for durability and longevity. For this project, I used Behr’s all-in-one paint and primer in bright orange. It is a Premium Plus Exterior Semigloss Enamel. This paint is well suited for the outdoors and perfect for the front exterior door of any home. It is available in a wide array of colors.
I now keep it stored in the shed in case I need to do a touch-up painting.

How much paint do I need?
The amount of paint you need to paint your front door will depend on the size of your door and the type of paint you are using. As a general rule, one quart of paint should be enough to cover a standard-sized front door with two coats of paint. However, if you are using paint with a thinner consistency, you may need more paint to achieve full coverage.
Painting your front door without removing it can be a simple and straightforward process if you follow these steps. It is an easy way to give your home a fresh look and improve its curb appeal.
Remember to prepare the surface properly, protect the surrounding area, and use high-quality materials for the best results. With a little time and effort, you’ll have a beautiful, welcoming front door you can be proud of.
I’d love to hear your thoughts about this article, so leave a comment below. Feel free to follow me on my social media pages – Pinterest and Instagram or subscribe to my mailing list for other cleanings, designs, home decor ideas and inspiration.