This post may contain affiliate links.


Tis the season to get into the holiday spirit and prepare our homes for Christmas. Adding decorative holiday pillows is a wonderful way to infuse comfort and style into your living spaces. The charm of decorative throw pillows is their ability to create a warm and cozy ambiance, perfectly suited for this time of the year.
So, embrace the Christmas spirit and embark on the delightful journey of crafting your own adorable Christmas pillows. Making pillows is not only super simple but also incredibly enjoyable, making it accessible for just about anyone.
These DIY Christmas pillows will not only bring a festive touch to your home but also have the potential to transform the look of any room. Dive into this straightforward guide on creating your own Christmas pillow covers and let the holiday crafting begin!
This post may contain affiliate links, which means I will earn a small commission if you purchase through my link. Please see the full disclosure policy for more information.
How to Choose the Right Fabric?
When making a simple DIY Christmas pillow, choosing the right fabric is crucial. The fabric’s weight, content, and width play a significant role in determining the final result, so pay attention to these factors. Your pillow’s intended use will guide your choice of fabric material.
- Cotton: Opt for regular or outdoor-specific cotton for durability, especially in high-traffic areas.
- Cotton linen blend: This material is suitable for both upholstery and decorative pillows. It offers various prints and patterns and is easy to maintain and clean.
- Velvet: If you want a touch of luxury, velvet adds warmth and comes in various colors.
- Faux Fur: Consider faux fur for a playful look; it resembles real fur, is breathable, and is resistant to tearing.
- Wool: Wool is durable, hypoallergenic, and provides a rich texture to pillow covers. It also helps them maintain their shape over time.
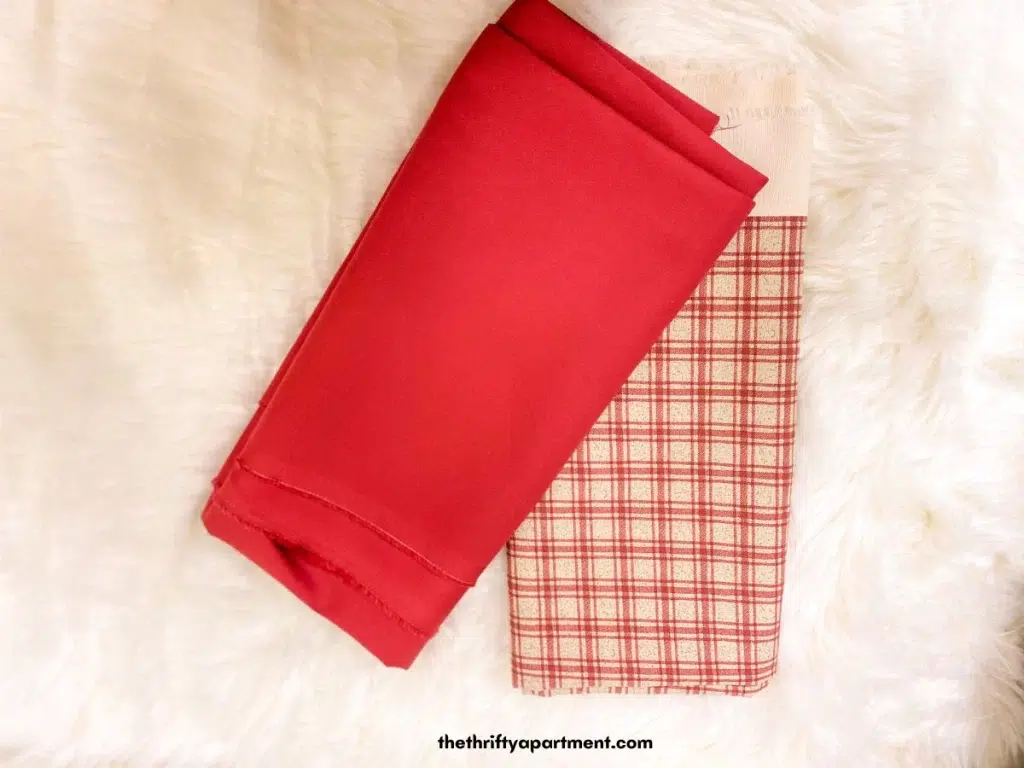
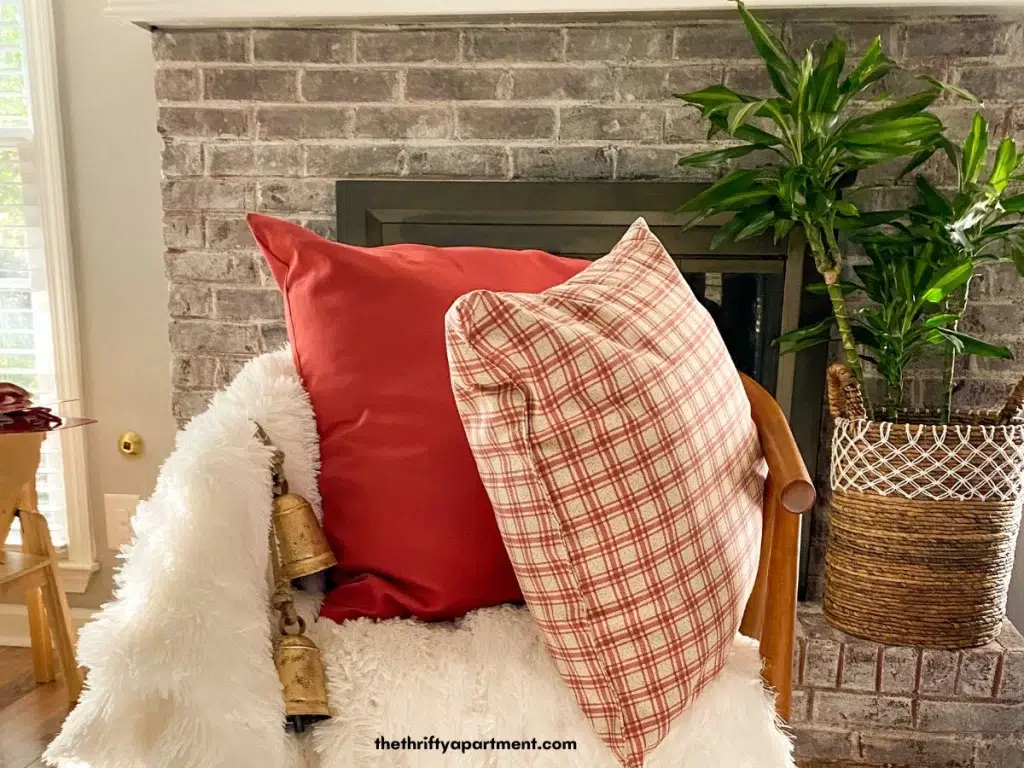
I went with a plaid fabric in a cotton blend. The plaid pillow seamlessly complements my Christmas decorations and harmonizes with the overall aesthetic of my home. The classic pattern of the plaid fabric adds a timeless touch.
How to DIY Christmas Pillow Cover
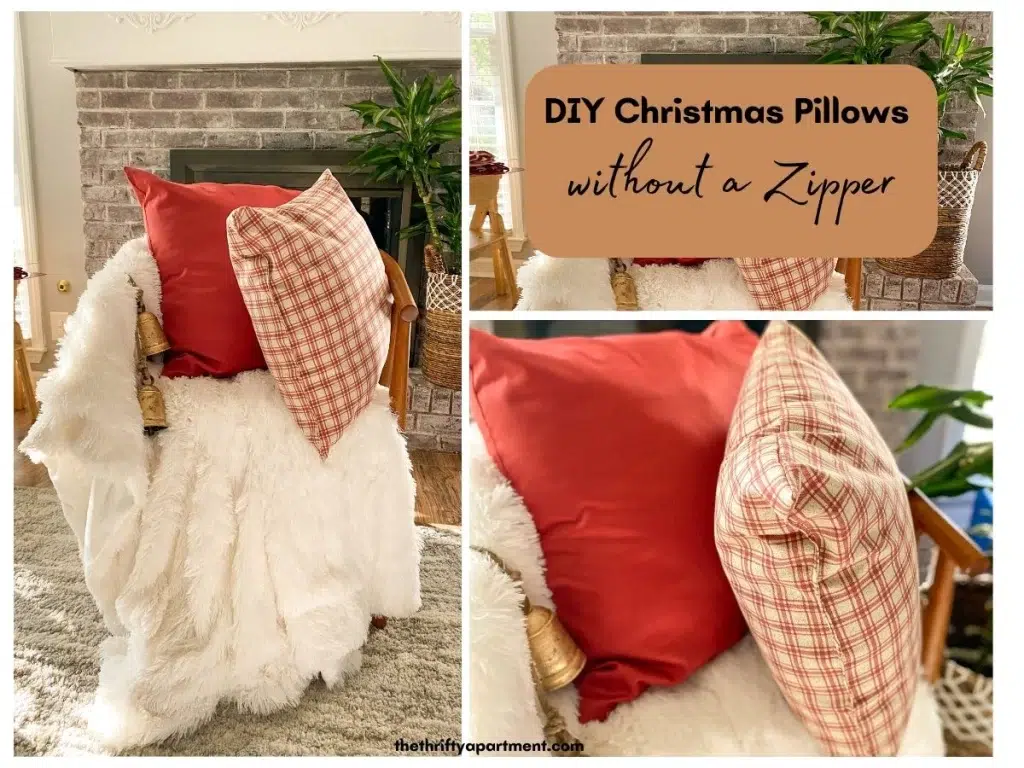
This DIY guide will provide the steps needed to create a standard-size plaid pillow without a zipper (also known as an envelope pillowcase) that is perfect for the holidays.
Supplies Needed
- 1 yard of your favorite fabric
- Matching color thread
- Pillow form insert
- Sewing Measuring tape
- Sewing Machine
- Scissors
- Pins
- Iron (not required but nice to have)
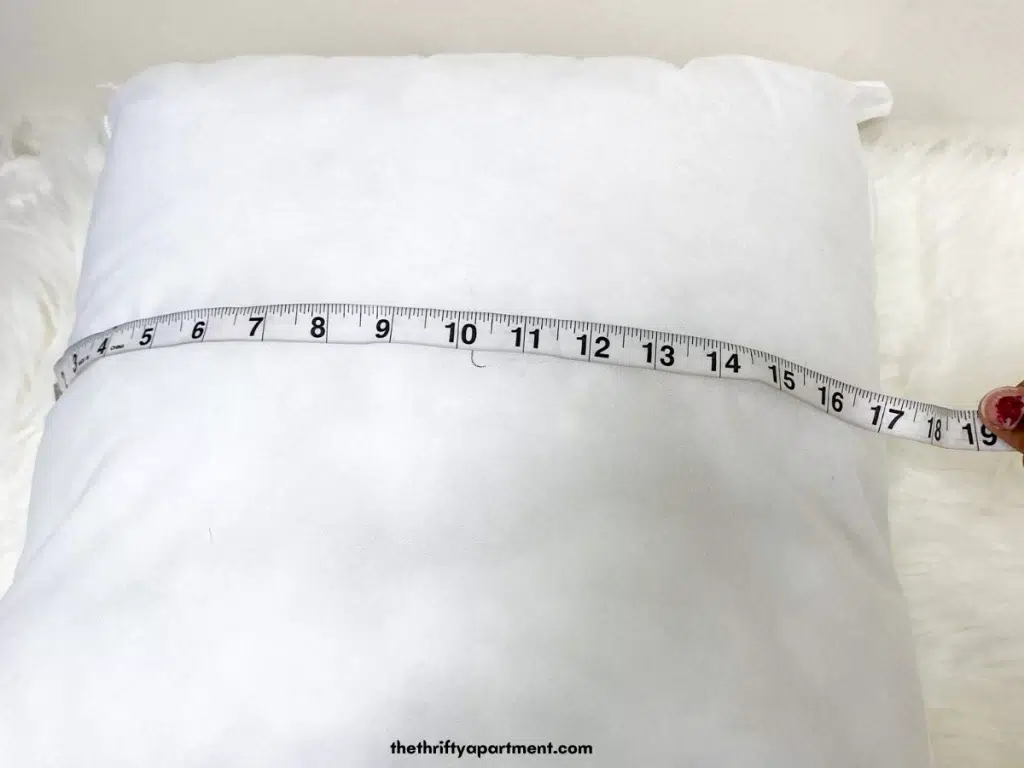
Step 1 – Measure your pillow form insert.
Use the measuring tape to measure the pillow insert to get an exact measurement of the pillow cover size you will create.
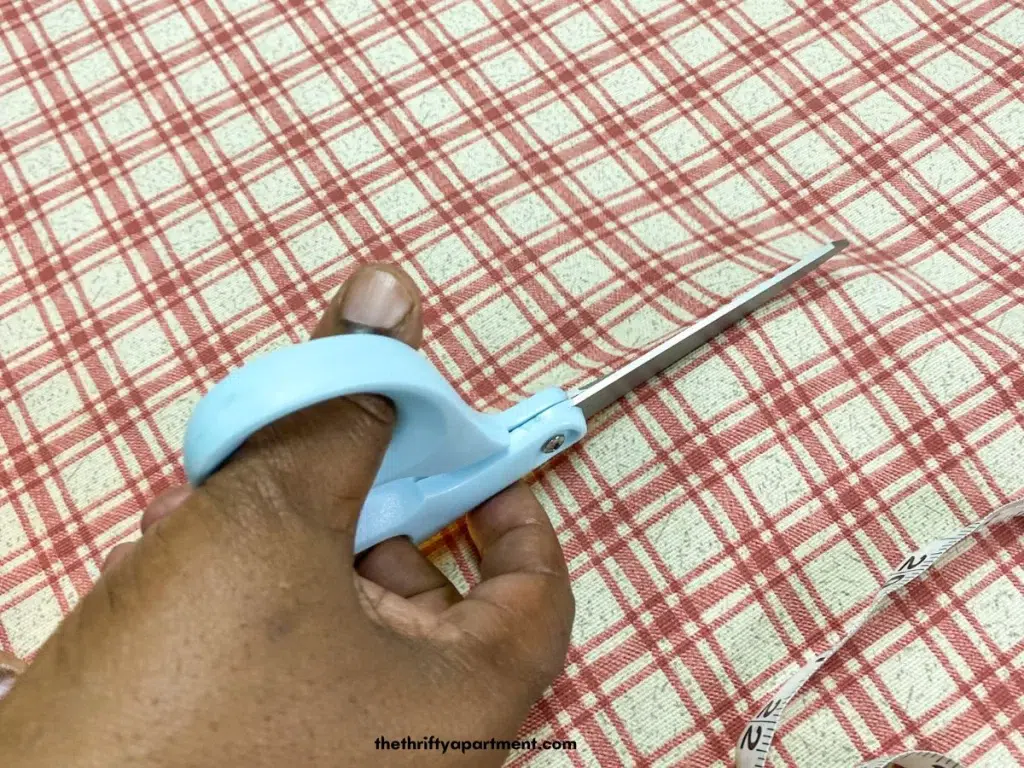
Step 2 – Cut the fabric.
Cut one piece (or panels) of fabric one inch longer to the pillow insert size. Cut two pieces of fabric for the back – both measuring half the height of the front of the pillow but the full width of the pillow. One inch of fabric was added to the width and height for seam and hem allowance overlap.
The back piece needs to be at least 5-7 inches added to the measurements for the overlap. My pillow inserts measured 16″ x 16″, and therefore I cut fabric pieces at 17″ by 17″ for the front and 17″ x 12″ for the back. This allowed enough coverage for the envelope pillowcase to overlap.
To make things easier, here is a Pillow Cutting Guide that is helpful for measuring and cutting the fabric.
- 16 x 16 Pillow – Cut 1, 17″ x 17″ Cut 2 17″ x 12″
- 18 x 18 Pillow – Cut 1 19″ x 19″ Cut 2 19″ x 13″
- 24 x 24 Pillow – Cut 1 25″ x 25″ Cut 2 25″ x 16″
Step 3 – Sew the back piece of fabric.
Fold a half inch of the back pieces, then sew. You can iron the fabric to keep it down before sewing or use the pins. You will have to do this for both back pieces.
Step 4: Sew the front and back of the fabric
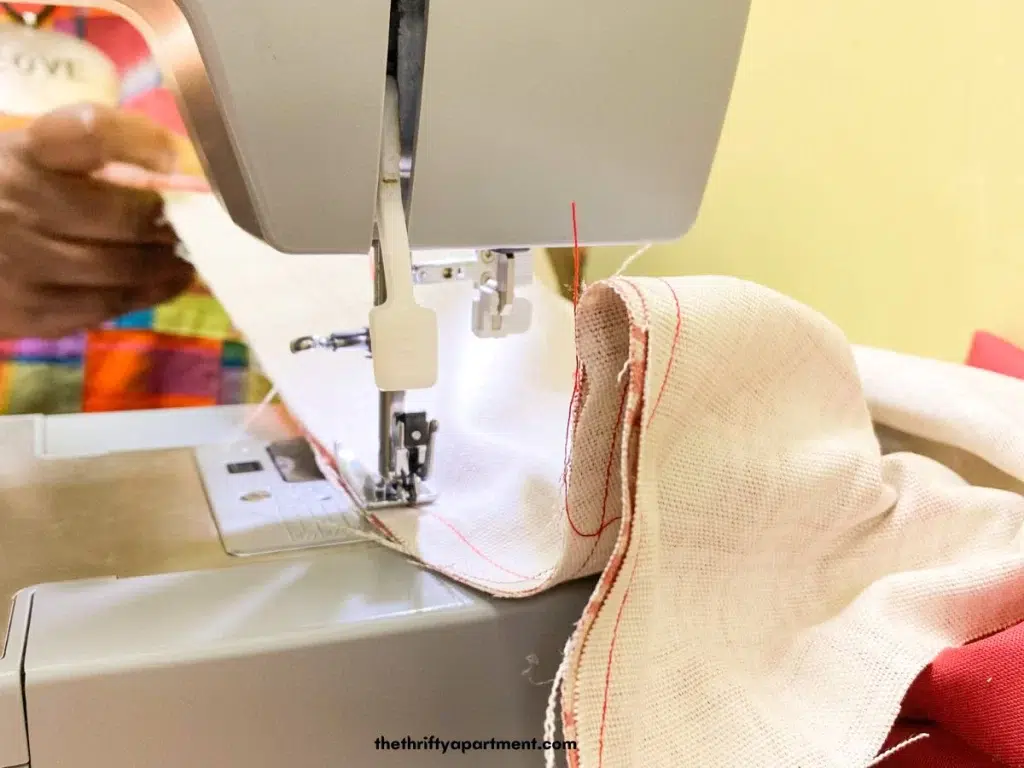
Align the corner edges of the front piece with both back pieces, making sure they are fully matched. The back pieces will overlap, forming the envelope.
Pin everything securely along the fabric edges. Proceed to sew the seams together using a straight stitch. Sew along the fabric’s perimeter, incorporating backstitching to reinforce the seams and ensure their durability.
Step 5 – Insert pillow form.
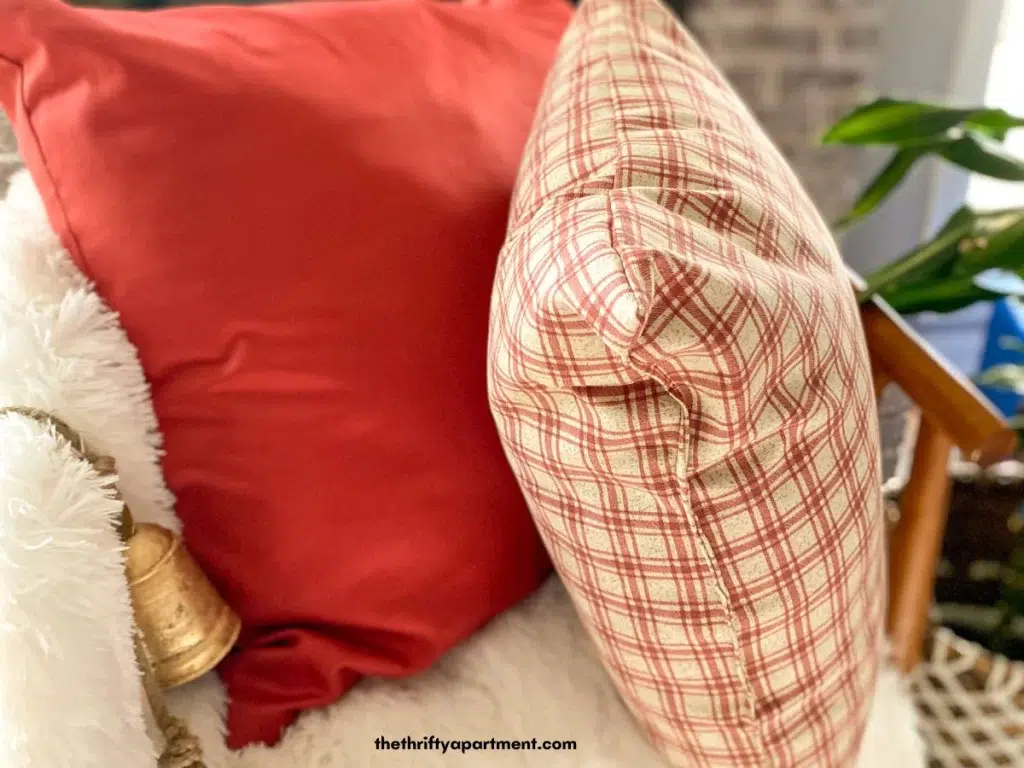
Turn your DIY pillow cover inside out (or right side in) and insert your pillow form into the pillow cover. Make sure to get the corners in the correct placement. Then Fluff your pillow.
For a more decorative touch to your Christmas pillow, consider adding your favorite Christmas saying, using iron-on adhesive embroidery, attaching pom poms, or creating a stencil art painted design. The options for designing and decorating your Christmas pillow are diverse.
I opted for a simpler approach to complement my home decor style. In the future, I might explore other creative ideas like a Christmas sweater pillow, snowflake pillow, or a deer pillow for a playful DIY touch.
Where to find fabric?
You can easily find fabric at your local arts and crafts store or explore online options like Fabric.com, MoodsFabric.com, and Spoonflower.com, which are leaders in the fabric materials market.
If you prefer the tactile experience of shopping in person, check out stores like Hobby Lobby, Michaels, JoAnn Fabrics, Pottery Barn, or West Elm. These outlets offer a diverse range of fabric choices. Personally, I bought the fabric I used from a local store, so it might be challenging to find the exact material online.
I hope you enjoyed this simple project. This festive pillow will make a great addition to your holiday decor. They can also make great gift ideas for friends and family.
For more Christmas and holiday inspiration
- 12 Best DIY Secret Santa Gift Basket Ideas
- 16 Best Christmas Gift Ideas for Her
- 14 Best Christmas Gift Ideas for Him: Curated by Him
- Easy DIY Adult White Elephant Gift Ideas Everyone will love
Follow me on my social media pages – Pinterest and Instagram or subscribe to my mailing list for other design inspiration and home decor ideas. Good Luck!

DIY Christmas Pillow
Materials
- 1 yard of your favorite fabric
- Matching color thread
- Pillow form insert
- Sewing Measuring tape
- Sewing Machine
- Scissor
- Pins
- Iron (not required but nice to have)
Instructions
- Measure your pillow form insert.Use the measuring tape to measure the pillow insert to get an exact measurement of the pillow cover size you will create.
- Cut the fabric.Cut one piece (or panels) of fabric one inch longer to the pillow insert size. Cut two pieces of fabric for the back – both measuring half the height of the front of the pillow but the full width of the pillow. One inch of fabric was added to the width and height for seam and hem allowance overlap.The back piece needs to be at least 5-7 inches added to the measurements for the overlap. My pillow inserts measured 16″ x 16″, and therefore I cut fabric pieces at 17″ by 17″ for the front and 17″ x 12″ for the back. This allowed enough coverage for the envelope pillowcase to overlap. To make things easier, here is a Pillow Cutting Guide that is helpful for measuring and cutting the fabric.• 16 x 16 Pillow – Cut 1, 17″ x 17″ Cut 2 17″ x 12″• 18 x 18 Pillow – Cut 1 19″ x 19″ Cut 2 19″ x 13″• 24 x 24 Pillow – Cut 1 25″ x 25″ Cut 2 25″ x 16″
- Sew the back piece of fabric.Fold a half inch of the back pieces, then sew. You can iron the fabric to keep it down before sewing or use the pins. You will have to do this for both back pieces.
- Sew the front and back of the fabric.Align the corner edges of the front piece with both back pieces, making sure they are fully matched. The back pieces will overlap, forming the envelope.Pin everything securely along the fabric edges. Proceed to sew the seams together using a straight stitch. Sew along the fabric’s perimeter, incorporating backstitching to reinforce the seams and ensure their durability.
- Insert pillow form.Turn your DIY pillow cover inside out (or right side in) and insert your pillow form into the pillow cover. Make sure to get the corners in the correct placement. Then Fluff your pillow.
Notes
Tamara White is the creator and founder of The Thrifty Apartment, a home decor and DIY blog that focuses on affordable and budget-friendly home decorating ideas and projects. Tamara documents her home improvement journey, love of thrifting, tips for space optimization, and creating beautiful spaces.
- Tamara White
- Tamara White
- Tamara White
- Tamara White
- Tamara White
- Tamara White
- Tamara White
- Tamara White
- Tamara White
- Tamara White
- Tamara White
- Tamara White
- Tamara White
- Tamara White
- Tamara White
- Tamara White
- Tamara White
- Tamara White
- Tamara White
- Tamara White
- Tamara White
- Tamara White
- Tamara White
- Tamara White
- Tamara White
- Tamara White
- Tamara White
- Tamara White
- Tamara White
- Tamara White
- Tamara White
- Tamara White
- Tamara White
- Tamara White
- Tamara White
- Tamara White
- Tamara White
- Tamara White
- Tamara White
- Tamara White
- Tamara White
- Tamara White
- Tamara White
- Tamara White
- Tamara White
- Tamara White
- Tamara White
- Tamara White
- Tamara White
- Tamara White
- Tamara White
- Tamara White
- Tamara White
- Tamara White
- Tamara White
- Tamara White
- Tamara White
- Tamara White
- Tamara White
- Tamara White
- Tamara White
- Tamara White
- Tamara White
- Tamara White
- Tamara White
- Tamara White
- Tamara White
- Tamara White
- Tamara White
- Tamara White
- Tamara White
- Tamara White
- Tamara White
- Tamara White
- Tamara White
- Tamara White
- Tamara White
- Tamara White
- Tamara White
- Tamara White
- Tamara White
- Tamara White
- Tamara White
- Tamara White
- Tamara White
- Tamara White
- Tamara White
- Tamara White
- Tamara White
- Tamara White
- Tamara White
- Tamara White
- Tamara White
- Tamara White
- Tamara White
- Tamara White
- Tamara White
- Tamara White
- Tamara White
- Tamara White
- Tamara White
- Tamara White
- Tamara White
- Tamara White
- Tamara White
- Tamara White
- Tamara White
- Tamara White
- Tamara White
- Tamara White
- Tamara White
- Tamara White
- Tamara White
- Tamara White
- Tamara White
- Tamara White
- Tamara White
- Tamara White
- Tamara White
- Tamara White
- Tamara White
- Tamara White
- Tamara White
- Tamara White
- Tamara White
- Tamara White
- Tamara White
- Tamara White
- Tamara White
- Tamara White
- Tamara White
- Tamara White
- Tamara White
- Tamara White
- Tamara White
- Tamara White
- Tamara White
- Tamara White
- Tamara White
- Tamara White
- Tamara White
- Tamara White
- Tamara White
- Tamara White
- Tamara White
- Tamara White
- Tamara White
- Tamara White
- Tamara White
- Tamara White
- Tamara White
- Tamara White
- Tamara White
- Tamara White
- Tamara White
- Tamara White
- Tamara White
- Tamara White
- Tamara White
- Tamara White
- Tamara White
- Tamara White
- Tamara White
- Tamara White
- Tamara White
- Tamara White
- Tamara White
- Tamara White
- Tamara White
- Tamara White
- Tamara White
- Tamara White
- Tamara White
- Tamara White
- Tamara White
- Tamara White
- Tamara White
- Tamara White
- Tamara White
- Tamara White
- Tamara White
- Tamara White
- Tamara White
- Tamara White
- Tamara White
- Tamara White
- Tamara White
- Tamara White
- Tamara White
- Tamara White
- Tamara White
- Tamara White
- Tamara White
- Tamara White
- Tamara White
- Tamara White
- Tamara White
- Tamara White
- Tamara White
- Tamara White
- Tamara White
- Tamara White
- Tamara White
- Tamara White
- Tamara White
- Tamara White
- Tamara White
- Tamara White
- Tamara White
- Tamara White
- Tamara White
- Tamara White
- Tamara White
- Tamara White
- Tamara White
- Tamara White
- Tamara White
- Tamara White
- Tamara White
- Tamara White
- Tamara White
- Tamara White
- Tamara White
- Tamara White
- Tamara White
- Tamara White
- Tamara White
- Tamara White
- Tamara White
- Tamara White
- Tamara White